MITERS TV Mount
We had just come back from the Edgerton Showcase, a yearly event where all of the Edgerton clubs and teams come to show off what they have been working on, and maybe it was because of the fact that it was mildly wet outside so we couldn’t drive the vehicles around too much1, but we were in the mood for some remodeling.
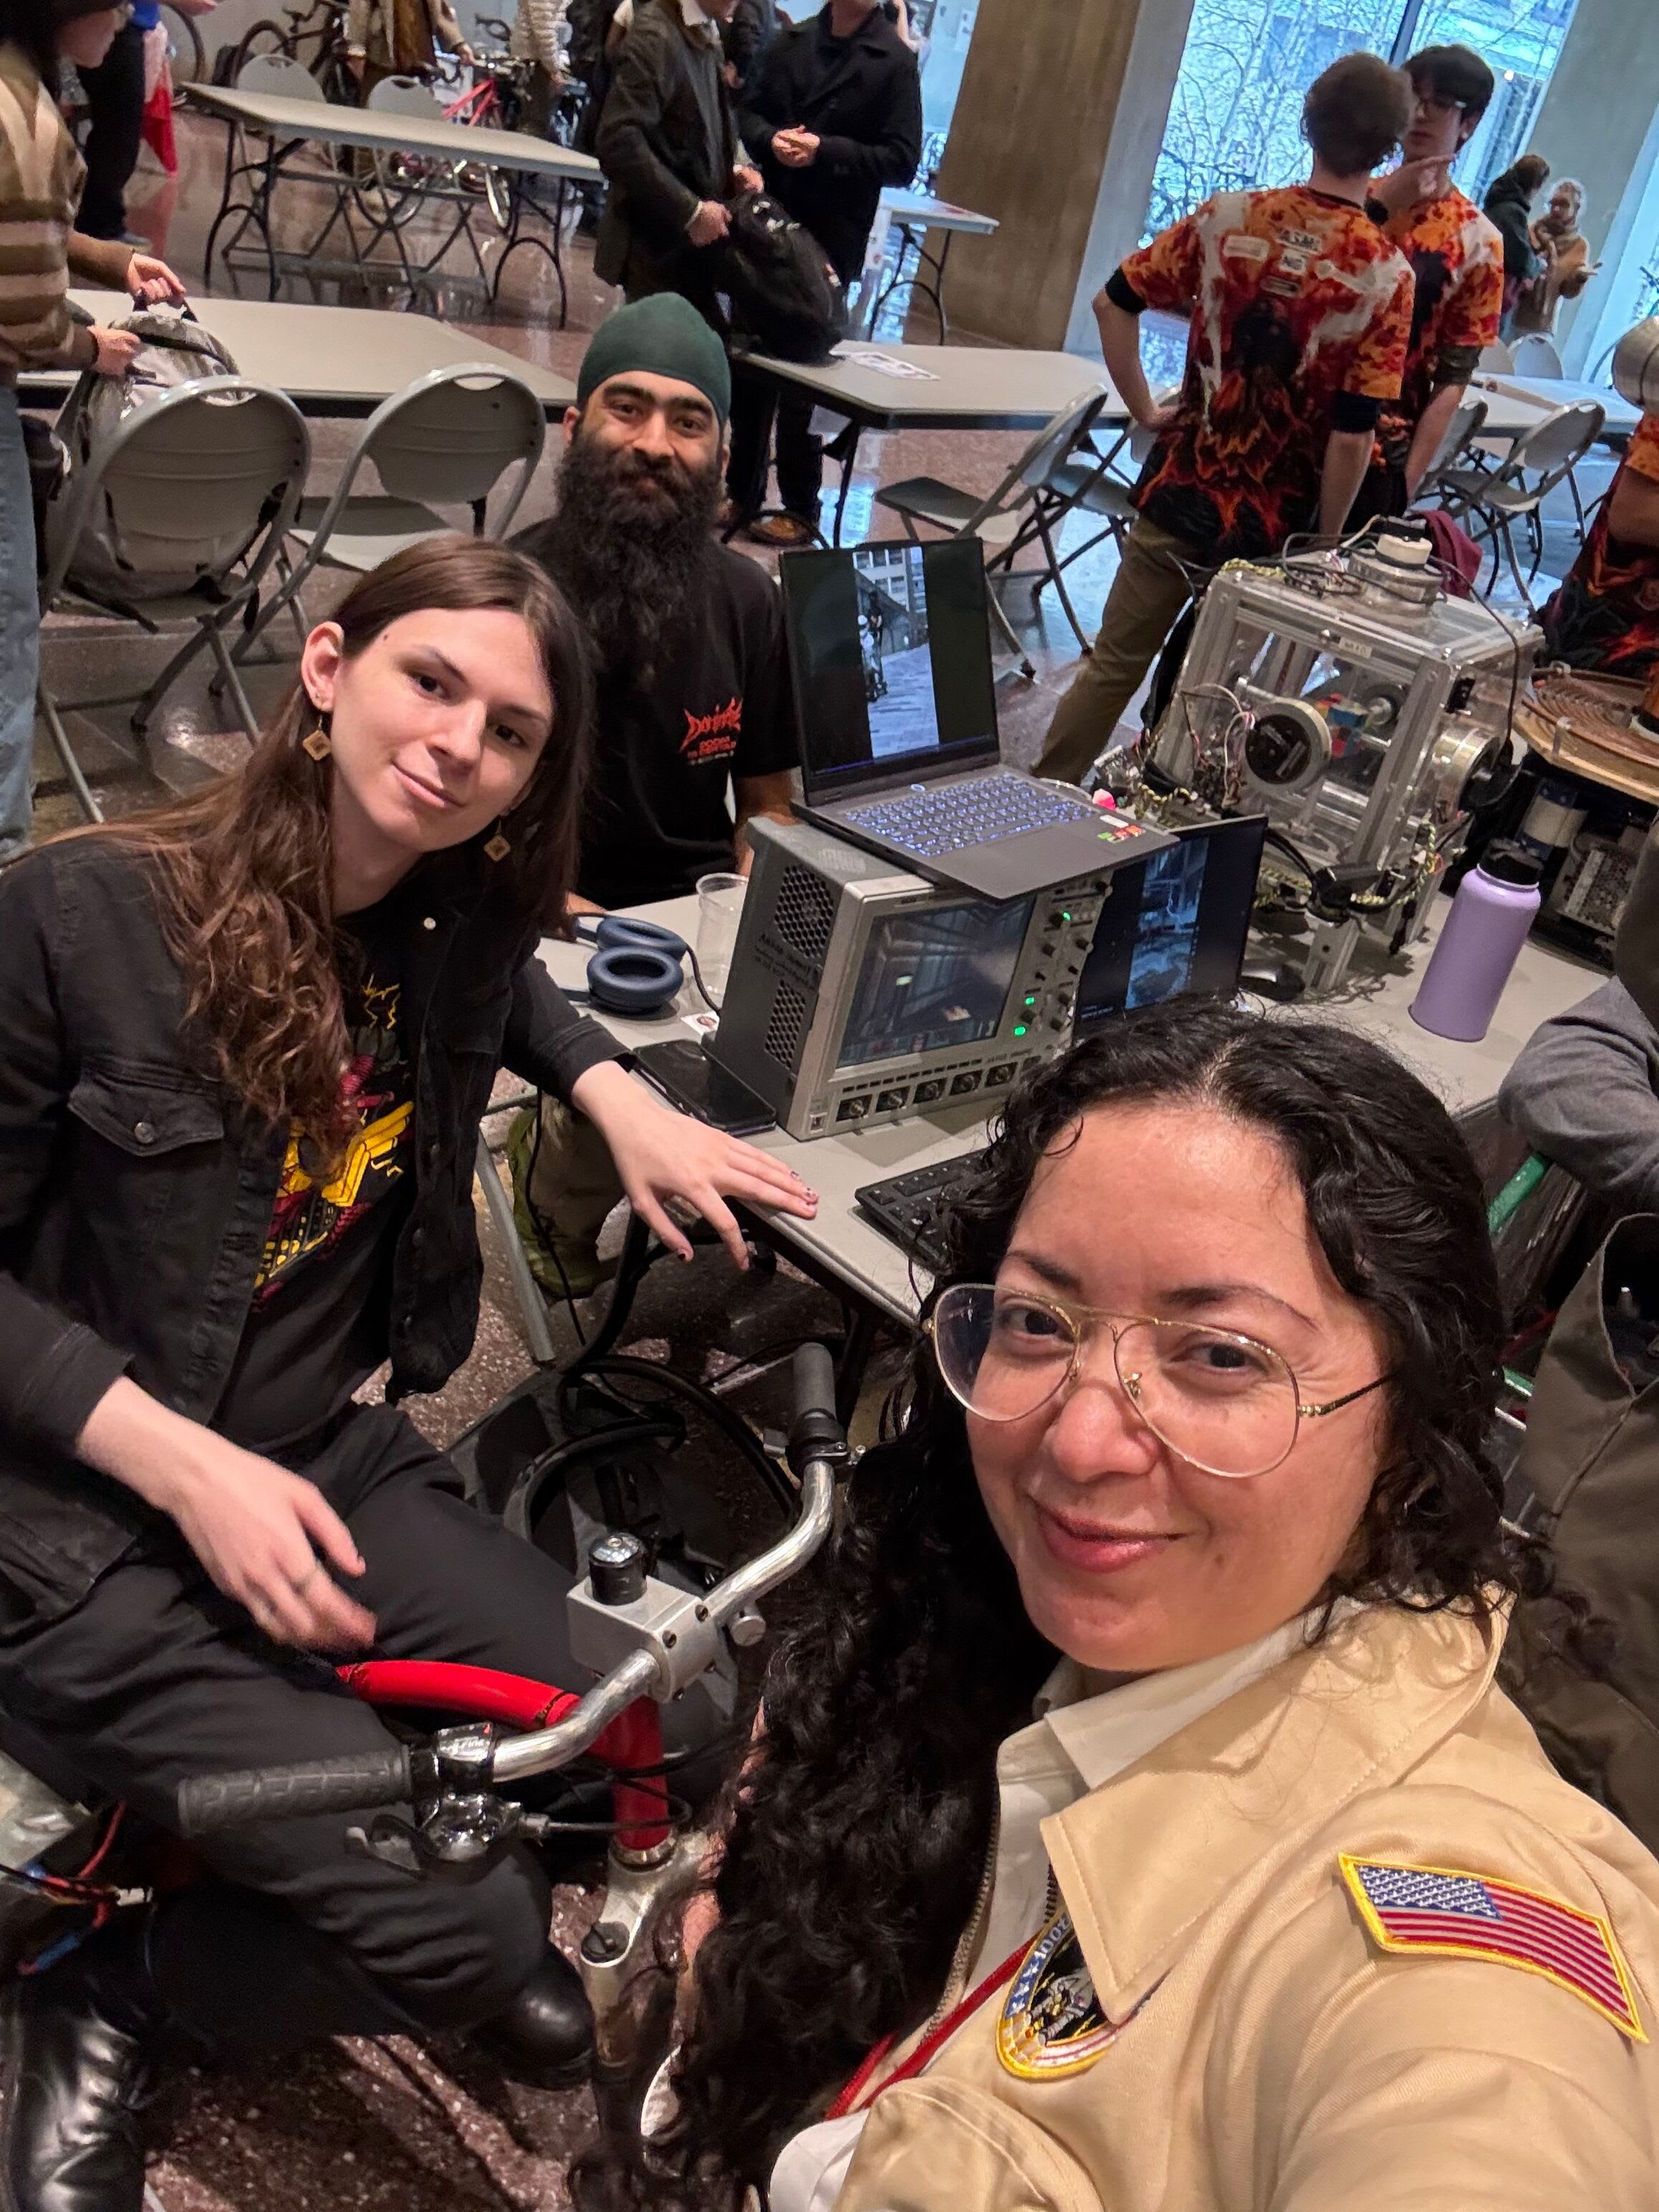
There had been a TV sitting outside the door to MITERS for several months, and while moving stuff back in, I finally got annoyed enough to propose we simply take it for ourselves. Clearly, its previous owners hadn’t thought it valuable enough to retrieve nor had the courtesy to properly dispose of it.
The TV turned out to be a Samsung 60” 4K smart TV (regrettably I don’t remember the model number, UN60… something), far nicer than the current TV in MITERS2. The only issues we could spot was a single line of pixels that were stuck on green and some bright spots that looked like the screen had been pressed on. These could have been the reason it was thrown out or could have come from it being a resting place for packages for many months. So, Anhad, Vaughn, and I decided to take down the old TV and mount the new one.
The old TV was extremely heavy, easily over 150 pounds, and hung by two chains to the ceiling of MITERS. This unconventional setup meant that the best way that we could figure to get the old TV off the wall was to first remove the bolts holding the TV onto the chain, awkwardly rest it on the very much non-structural table light, then pull it “gently” onto the floor.
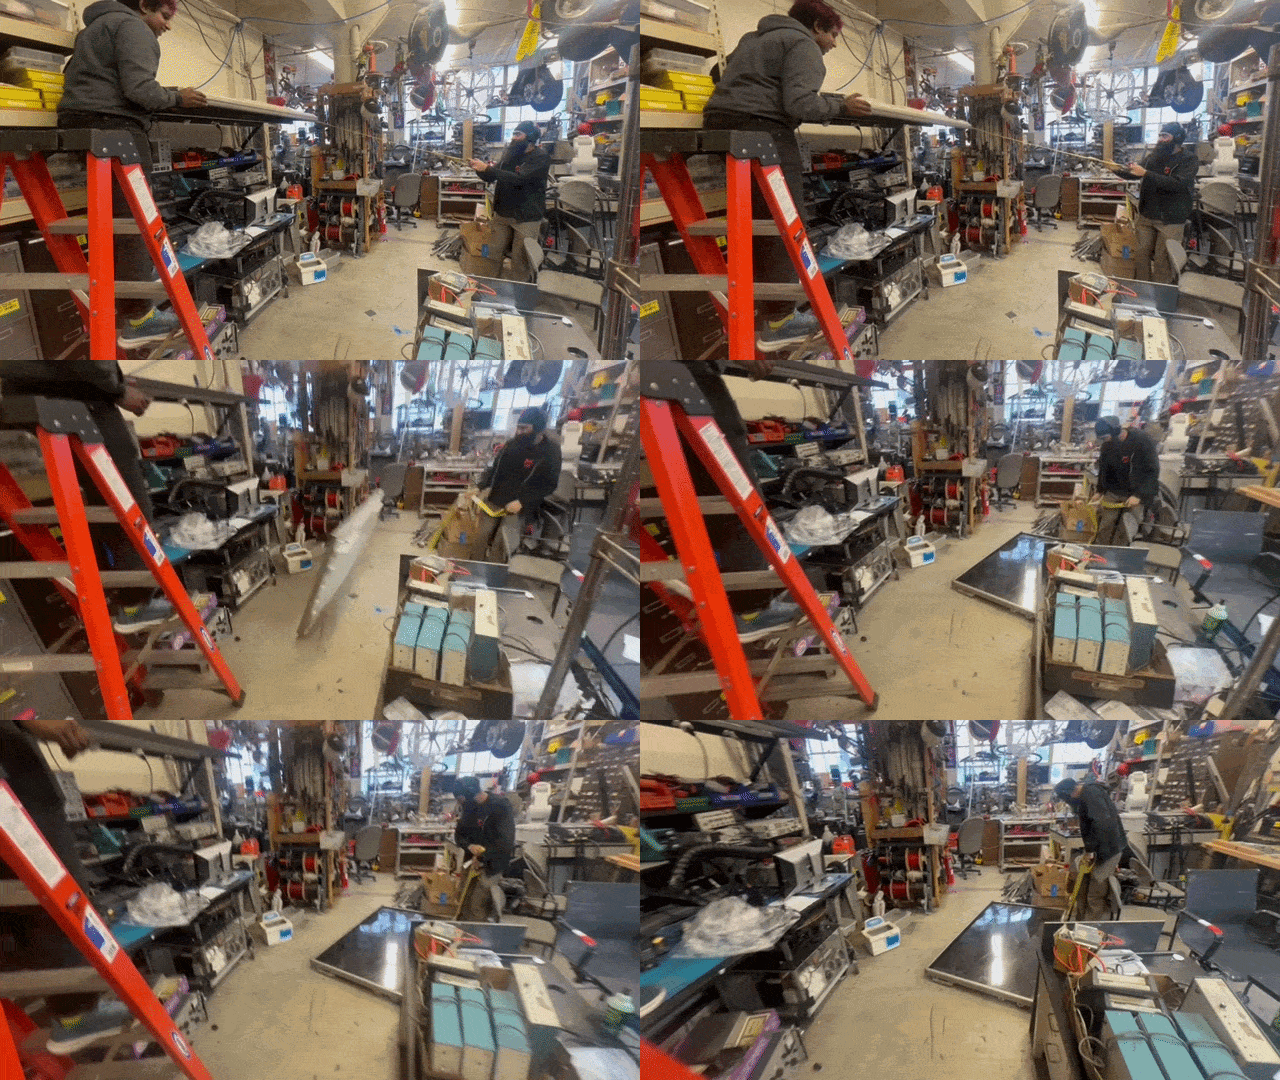
With the old TV successfully removed and consigned to the loading dock, the next order of business was to fabricate a mount for the new TV. It used a VESA 400mm x 400mm mount, so Anhad CADed up a plate to laser cut in Solidworks while Vaughn and I welded together some box tube from one of Miguel’s old mills that had been recently donated to the MITERS stock pile. The plan was to weld this long section of box tube to the mounting plate and then hang the whole assembly from the chains that the previous TV used.
This was probably the third or fourth time I have ever welded (and the first time in several months), so I was pleasantly surprised by the results. They are by no means great, the metal has been heated up quite a lot and I made a silly mistake (we’ll get to this later), but not bad.3
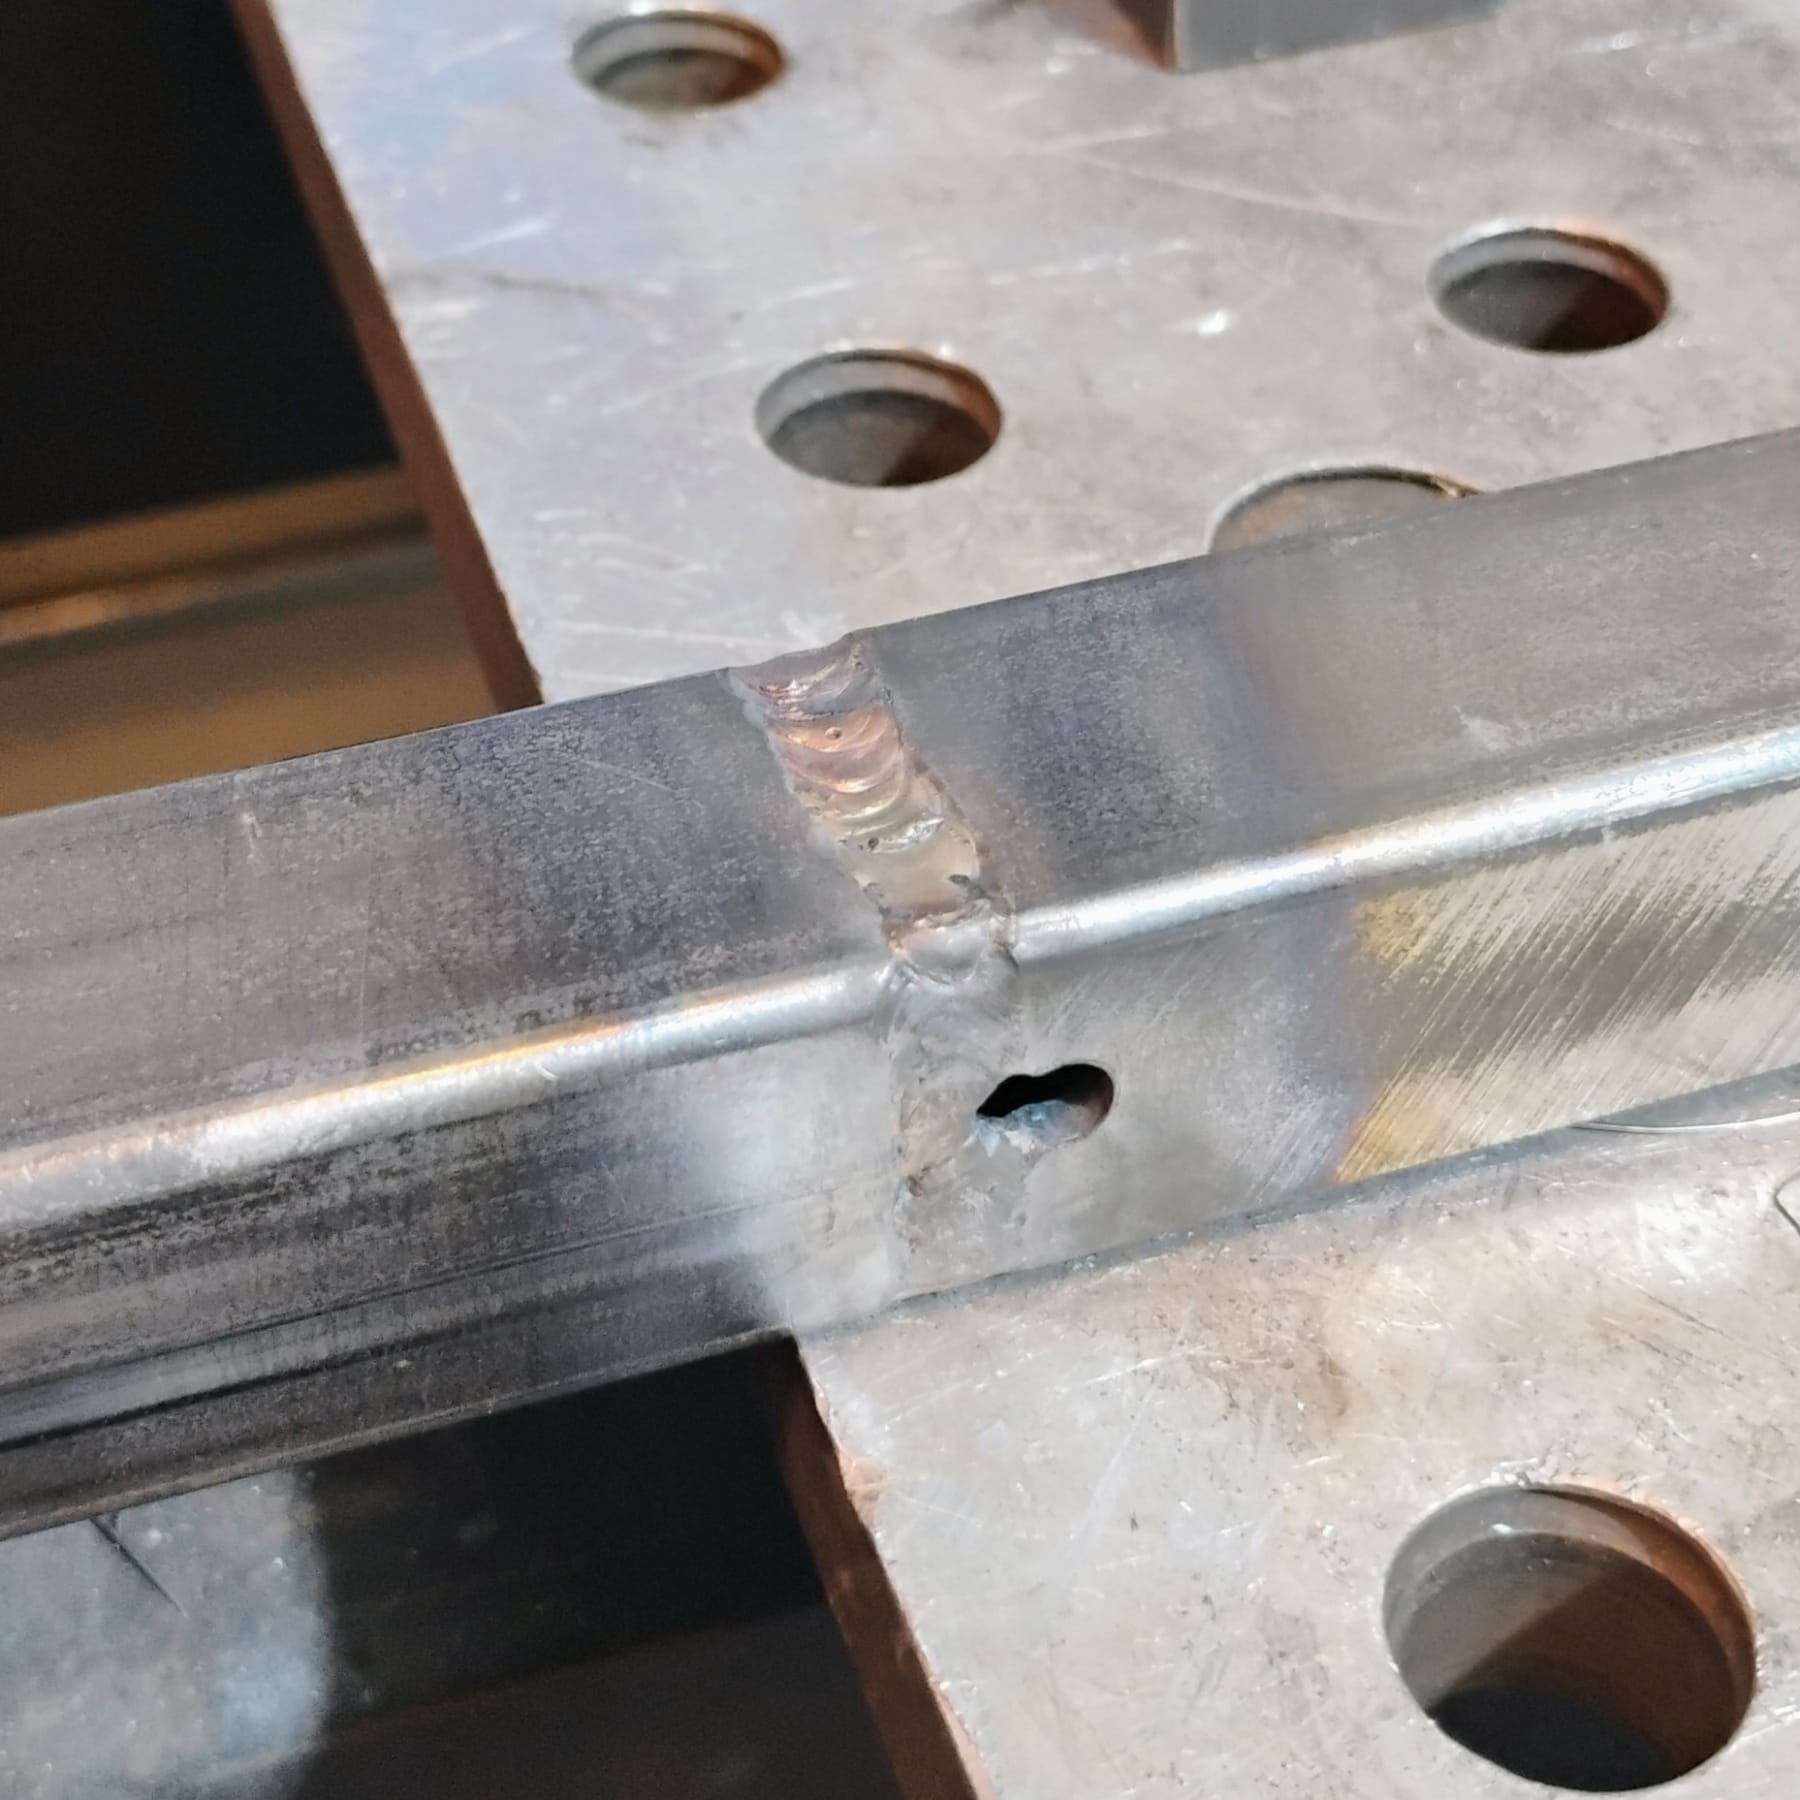
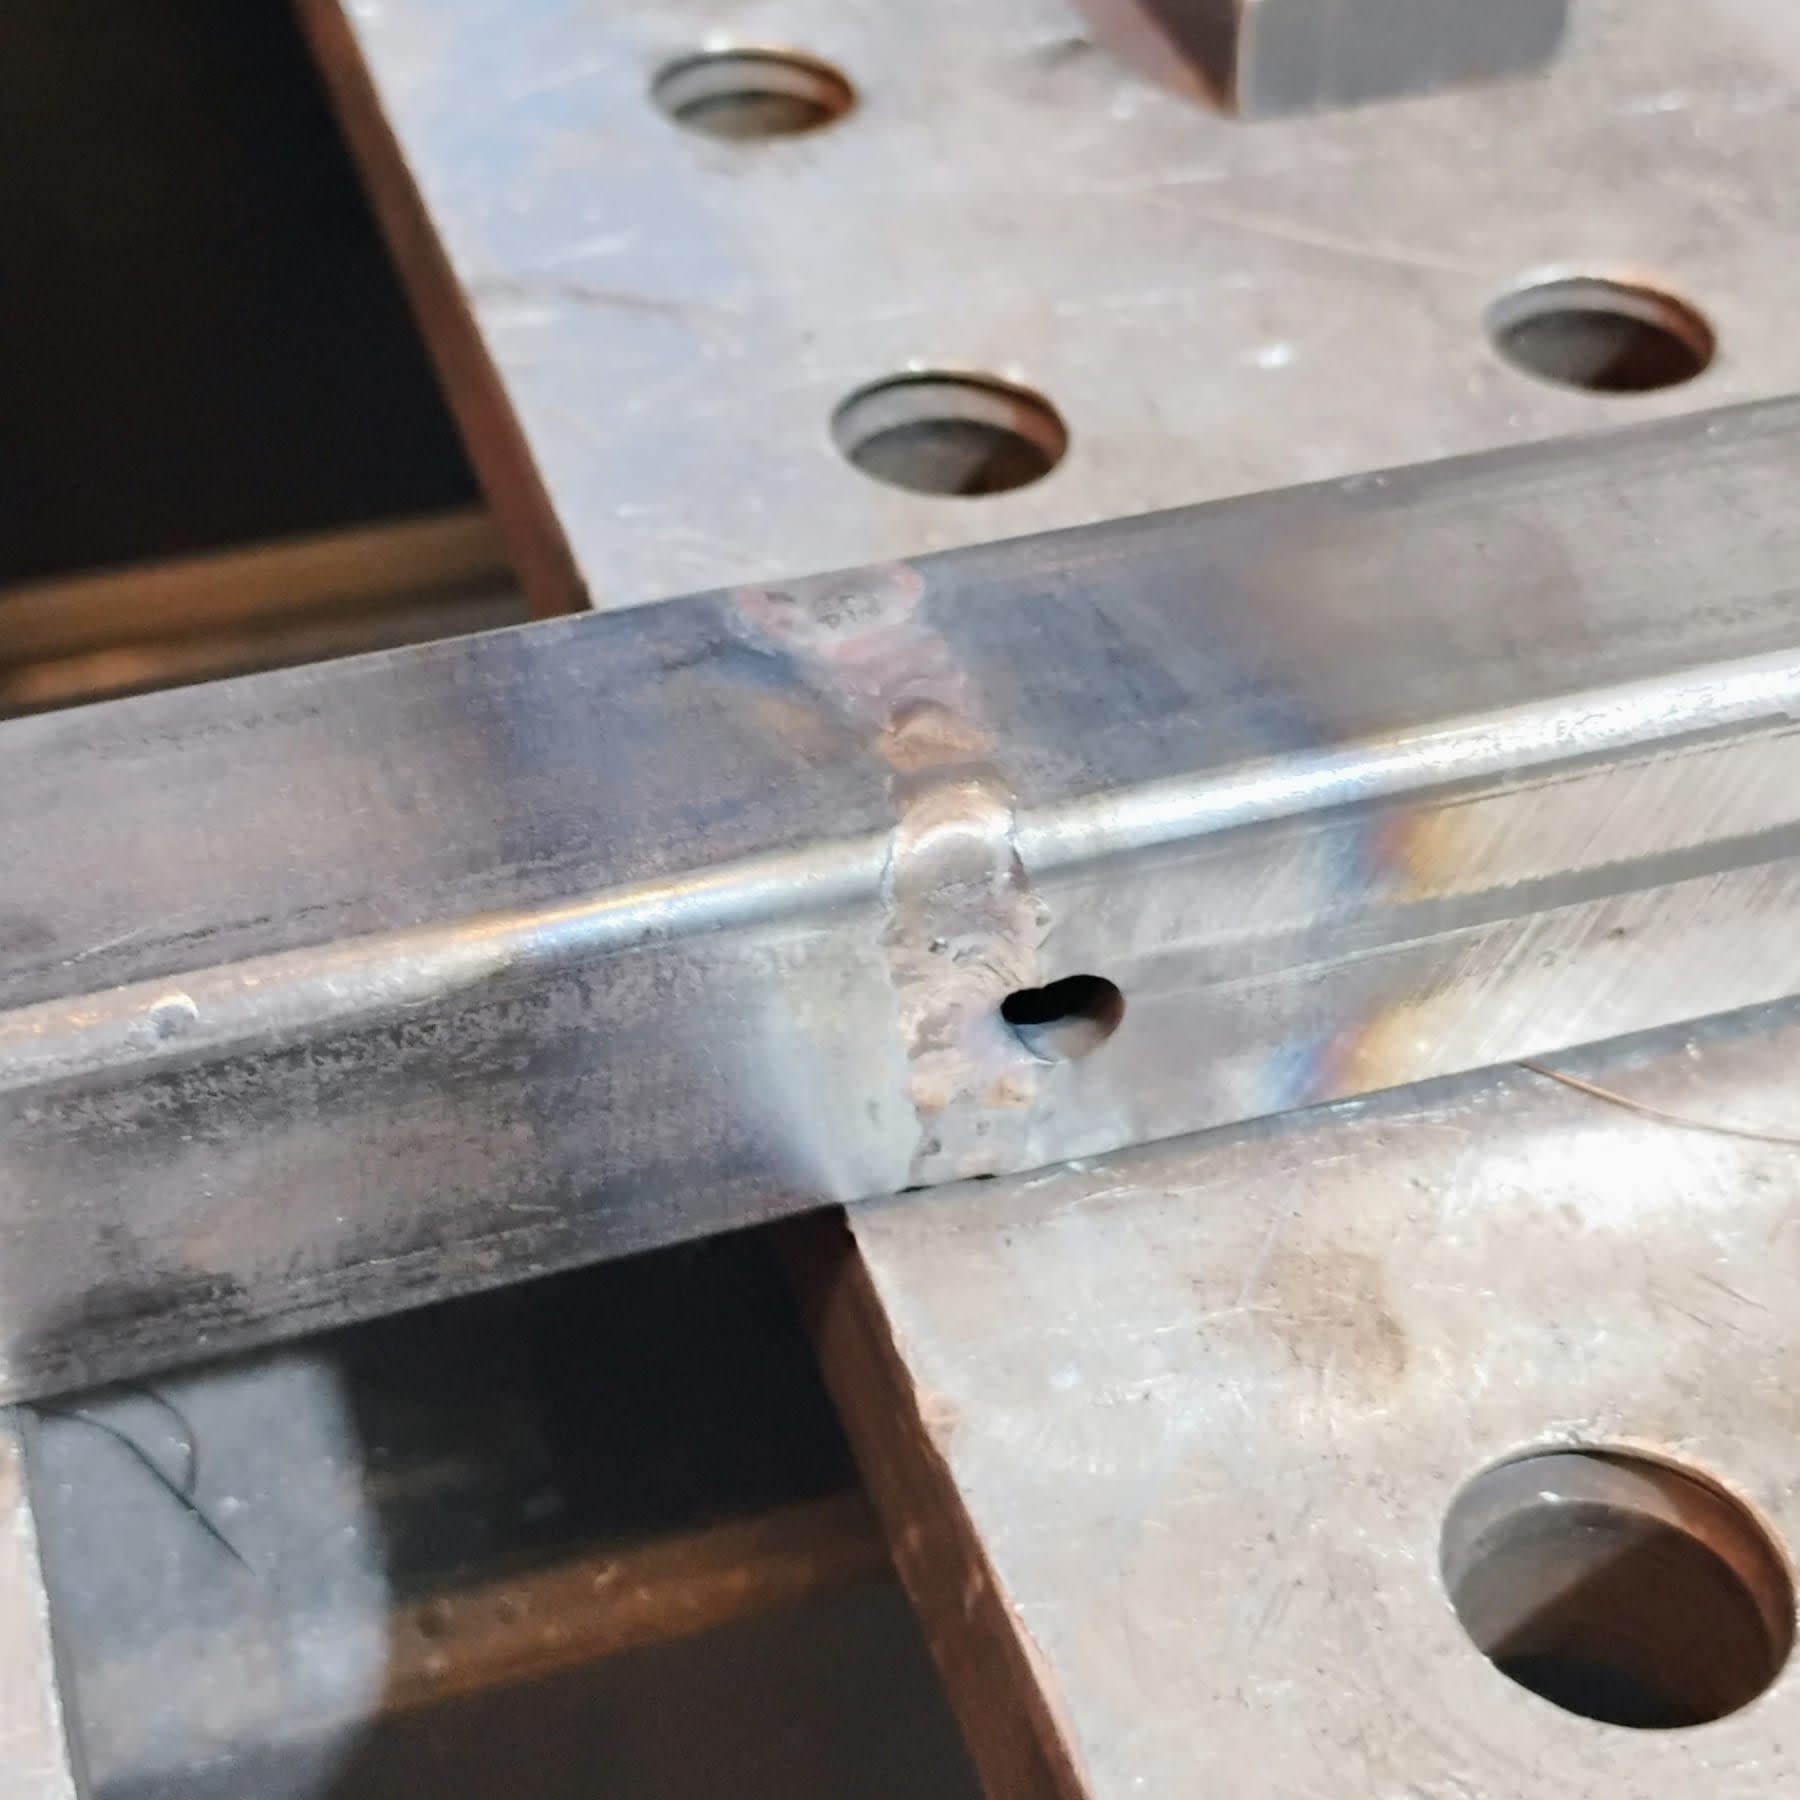
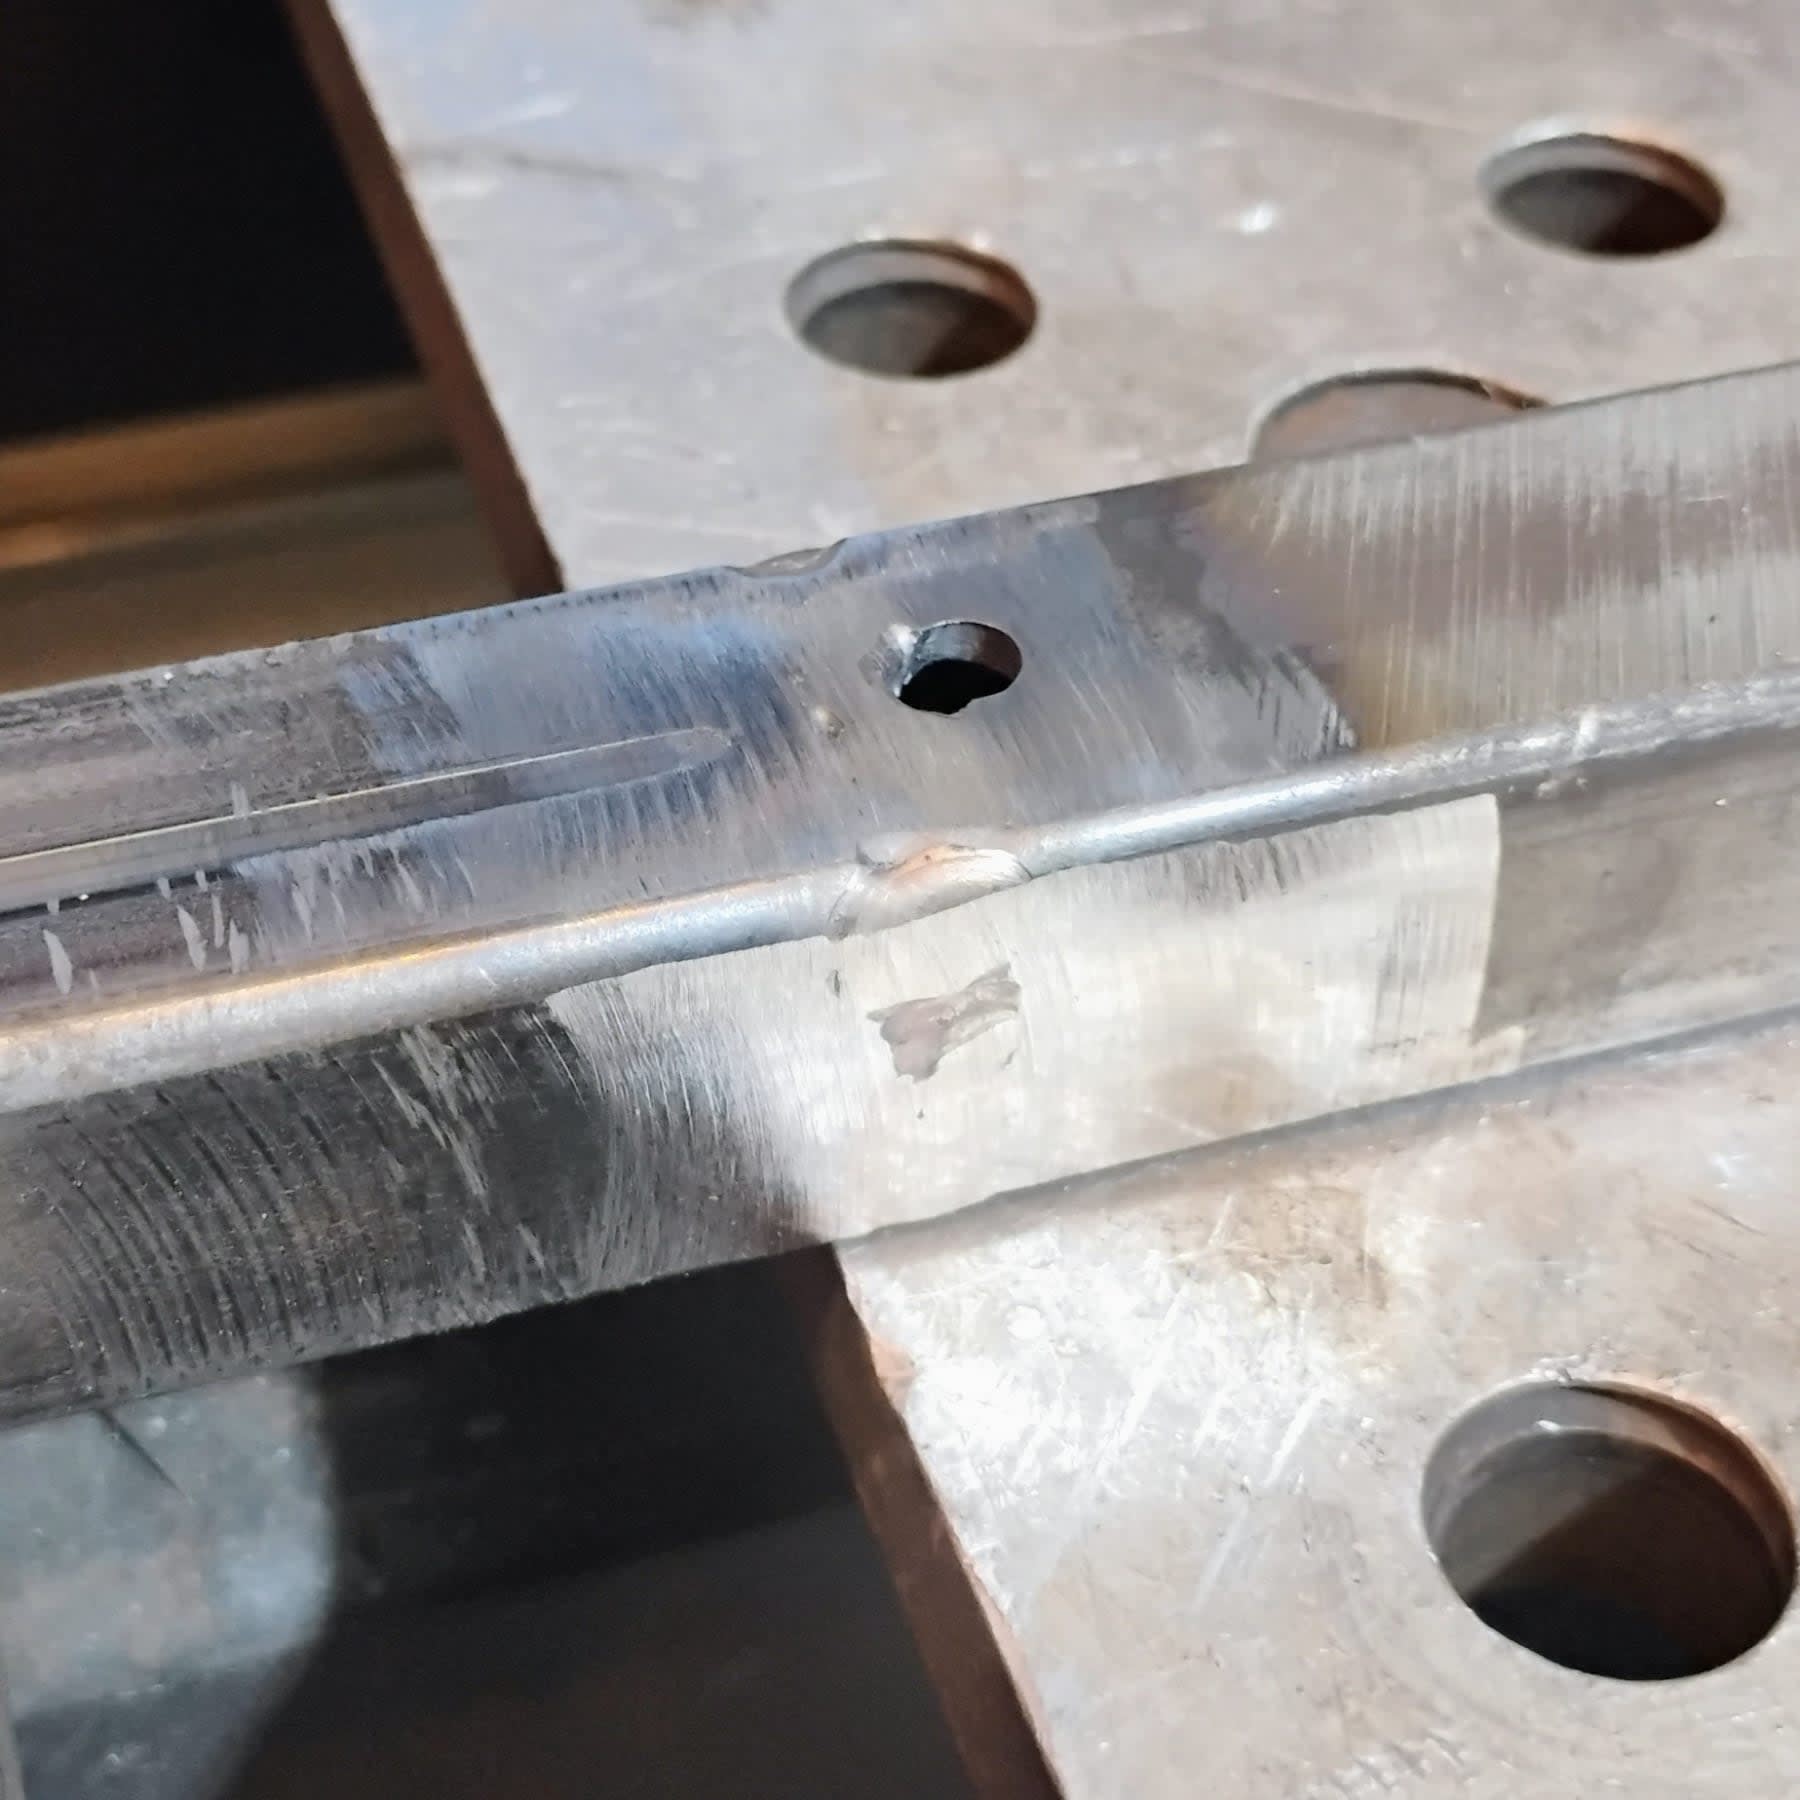
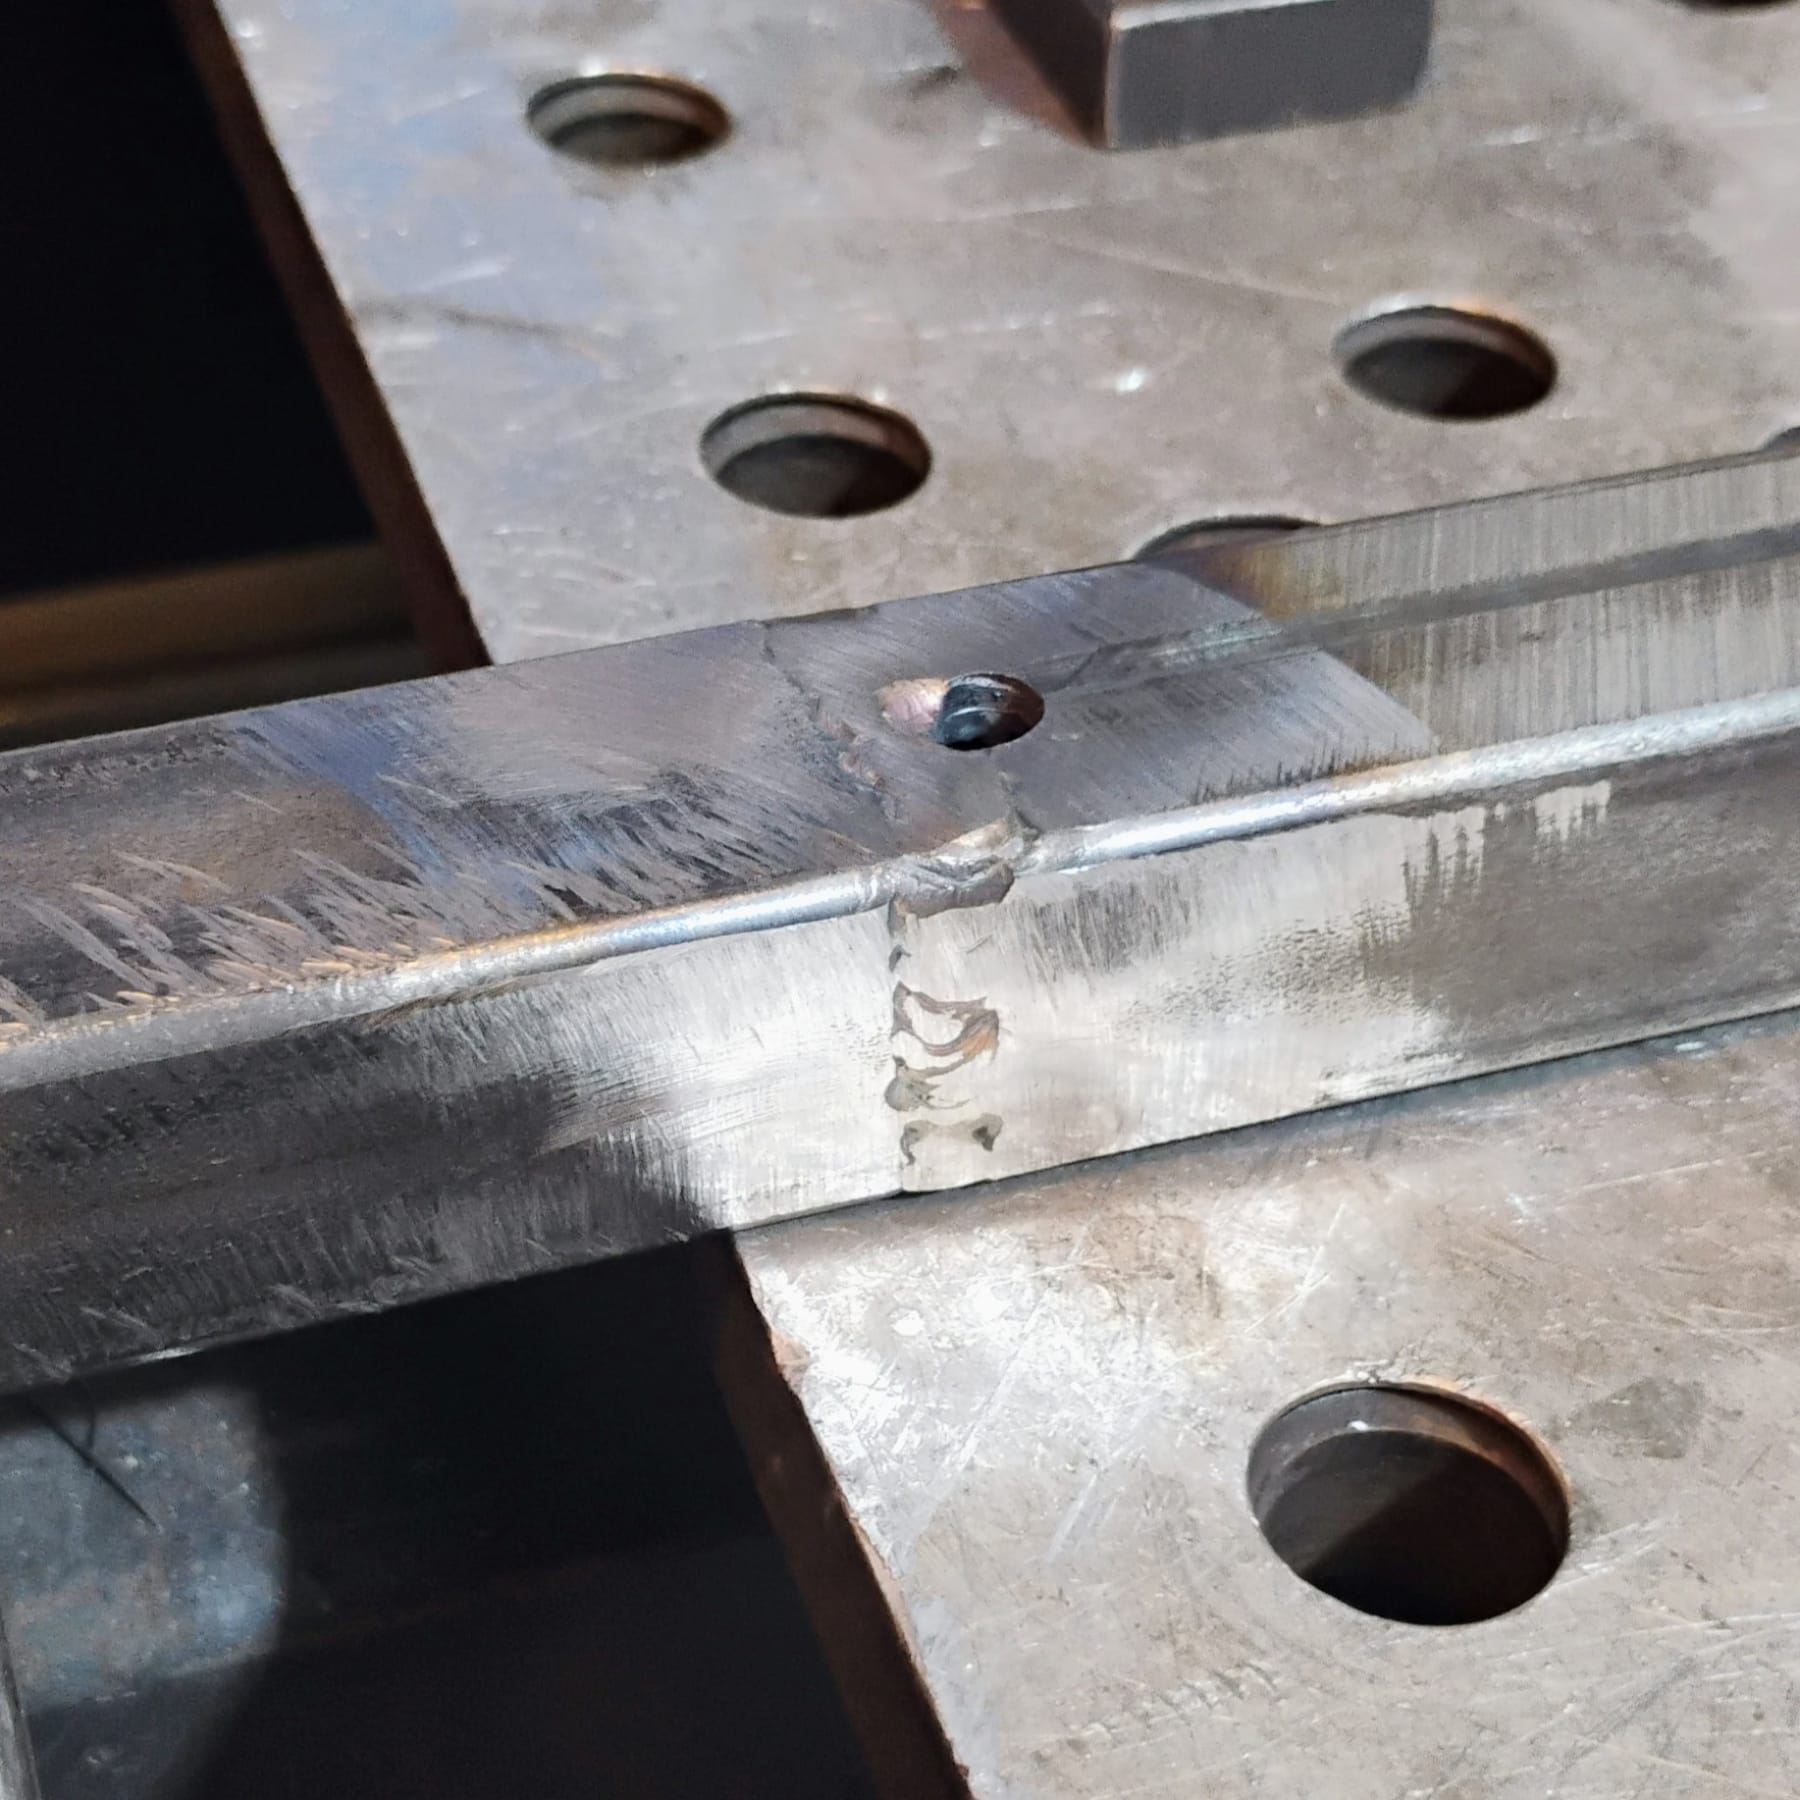
Grinding down the welds showed me that I also hadn’t put quite enough filler everywhere, particularly on the corners. Now that the tube was welded, I jigged the mounting plate4 to be centered on the tube. Unfortunately, it was at this point that my rarely practiced TIG skills failed me and I was unable to weld the tube to the mounting plate. Fortunately, Anhad was able to come in and MIG welded the box tube to plate. He chose to use MIG mainly due to the fact that my slow work had resulted in a queue of people waiting to use the D-Lab welding room. He also noticed that I had been using stainless steel filler for a mild steel tube. Oops. This shouldn’t be too much of an issue, but just to be safe, Anhad added an extra plate on top of the tube near my weld.
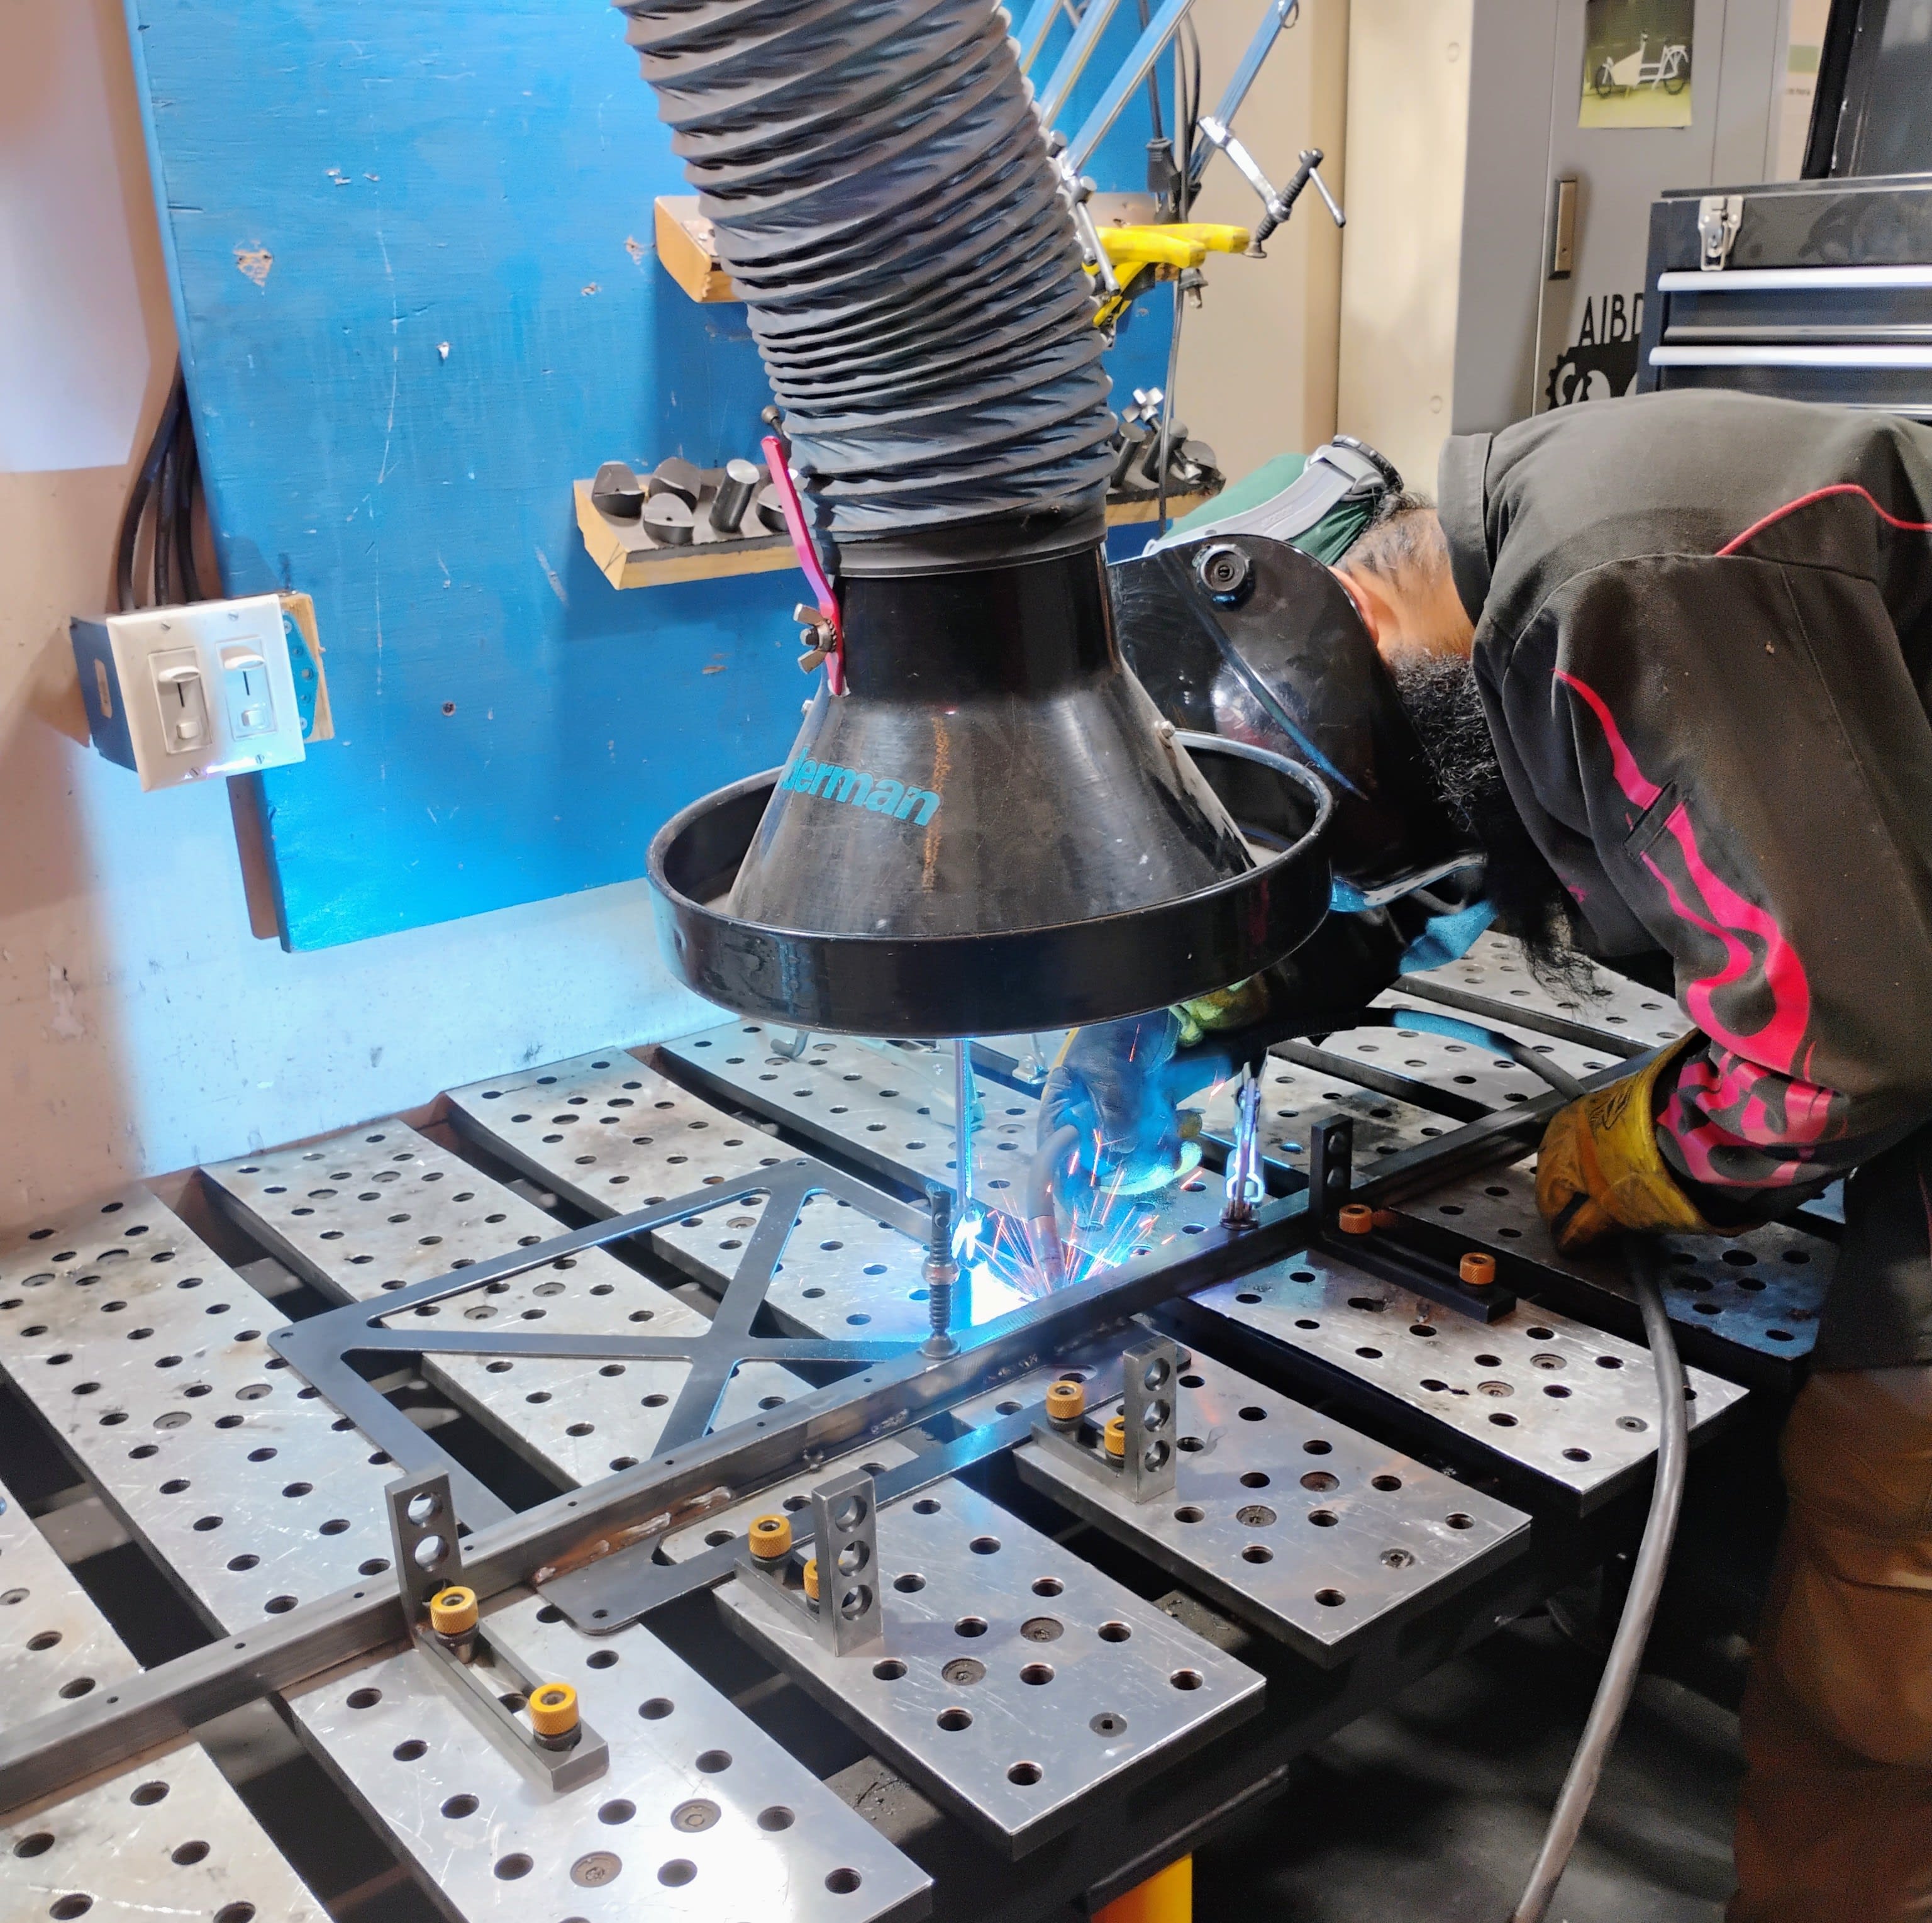
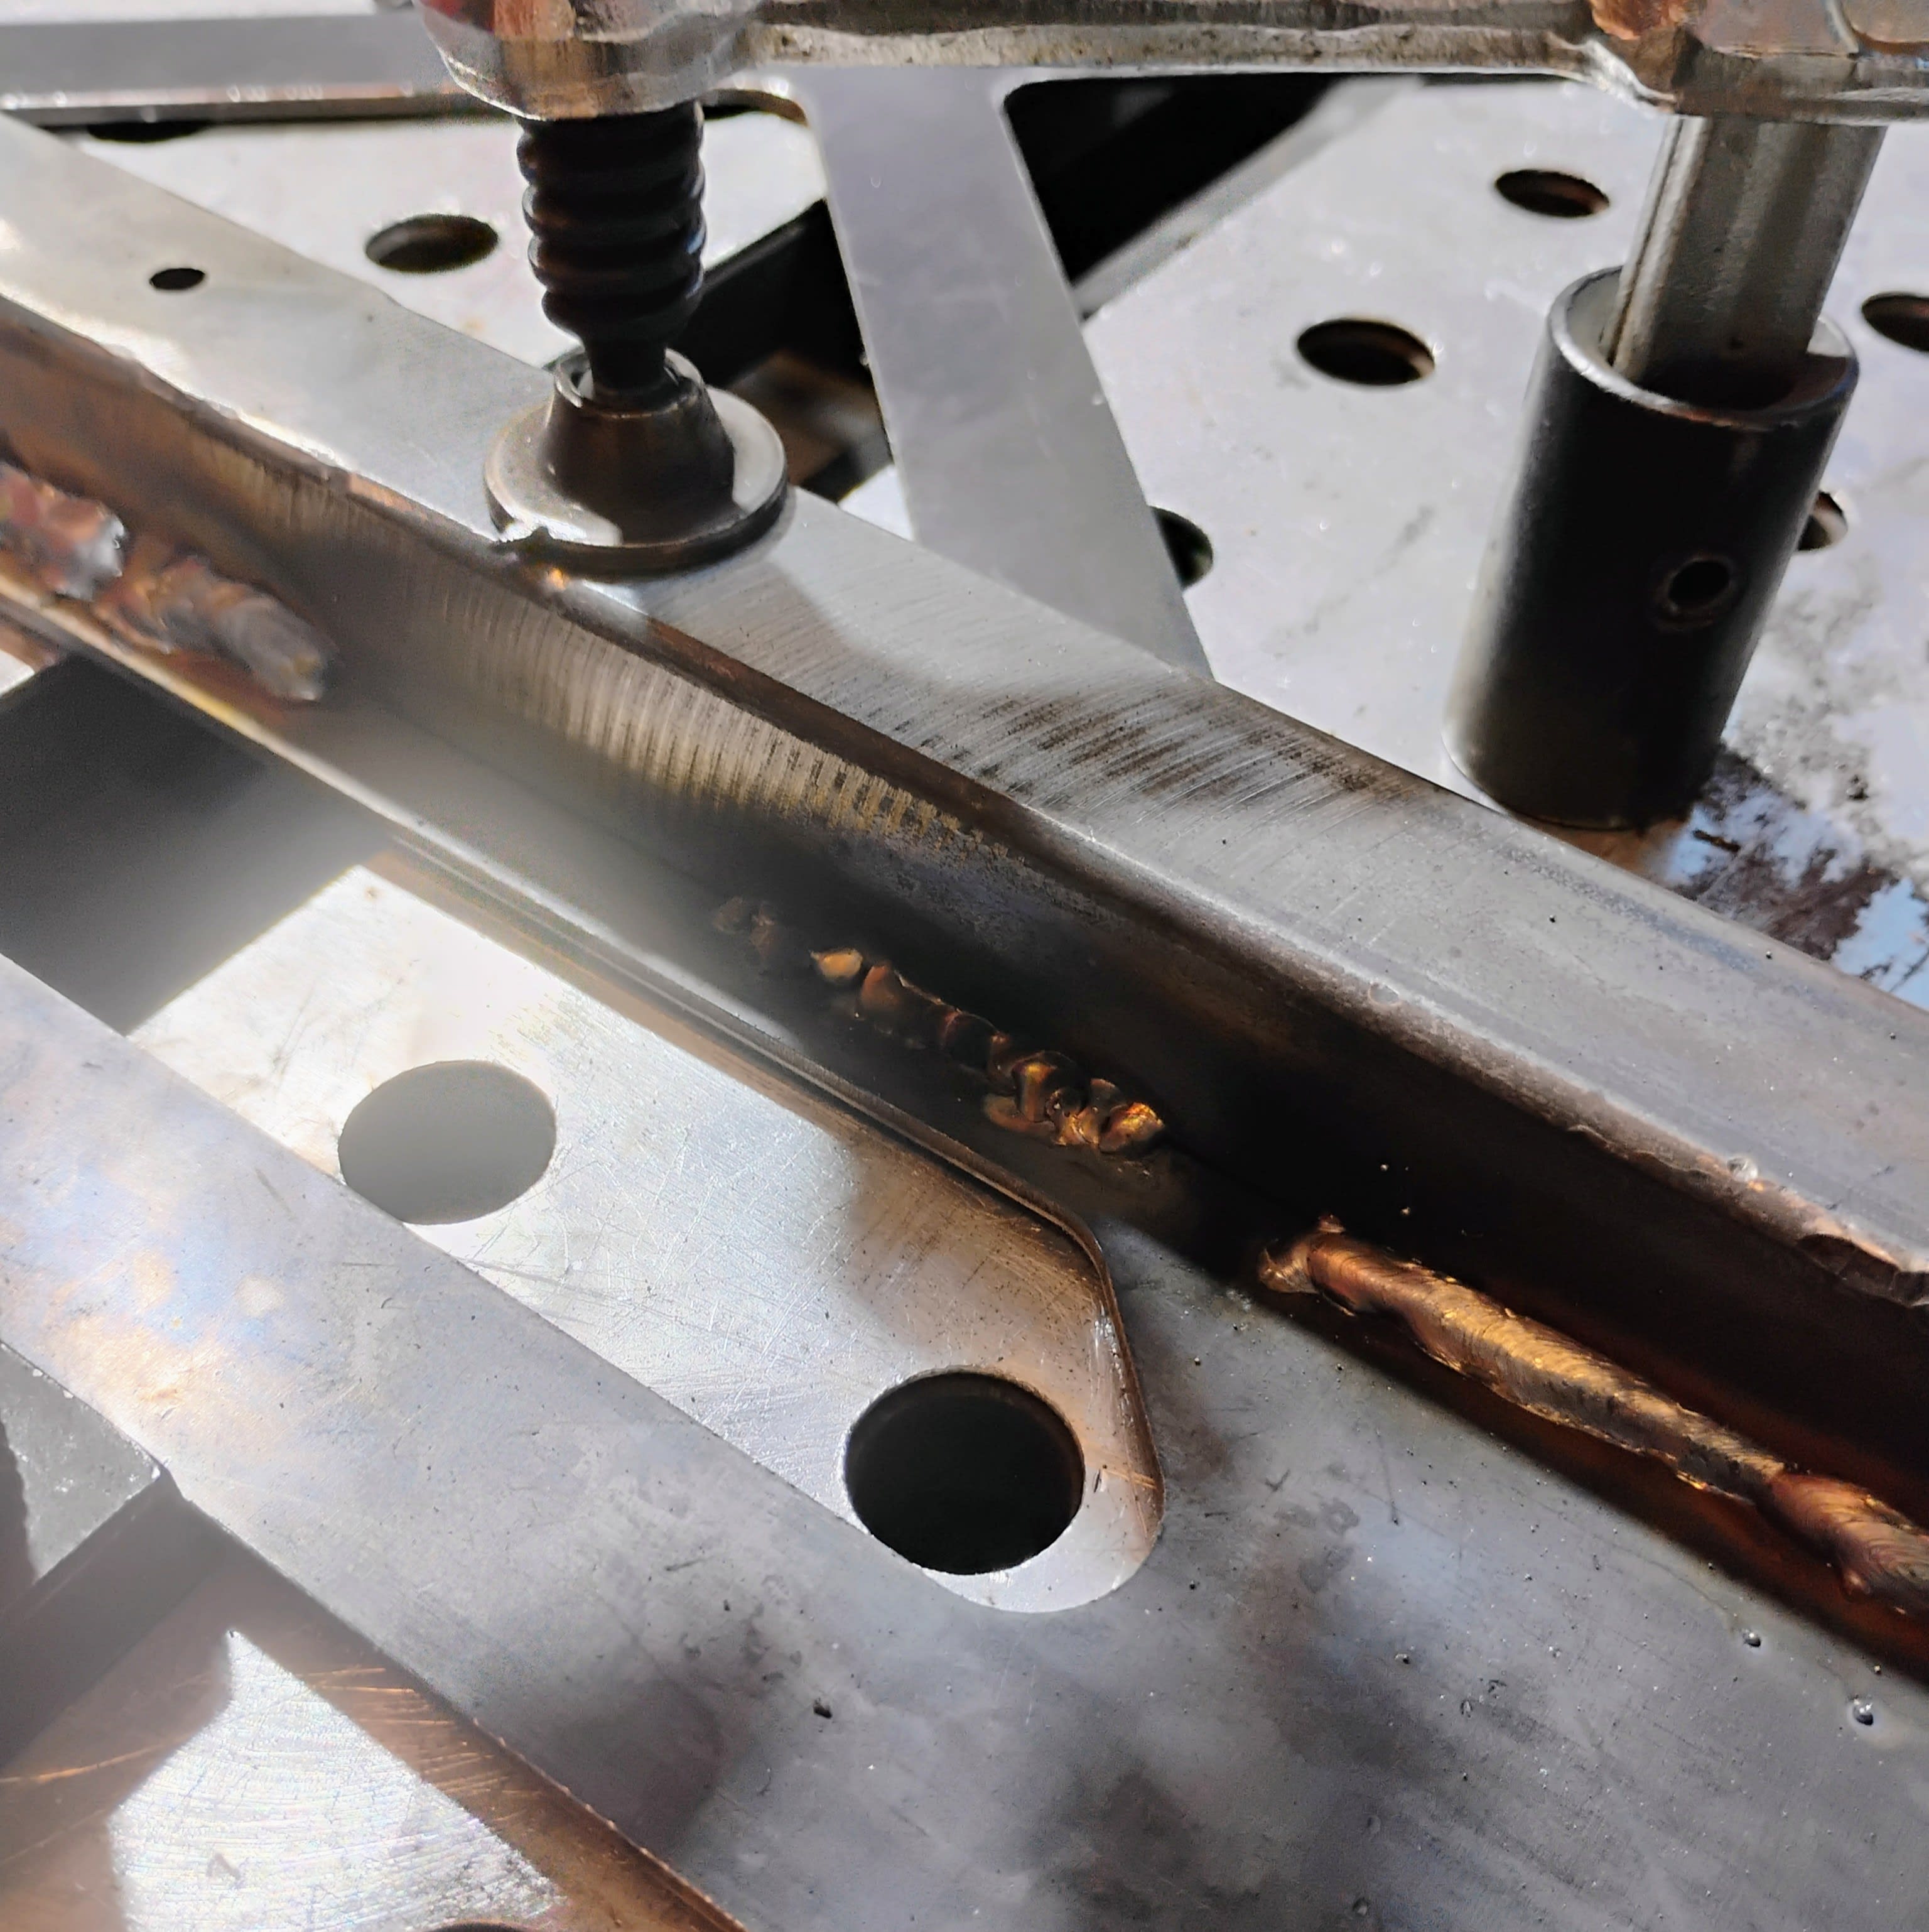
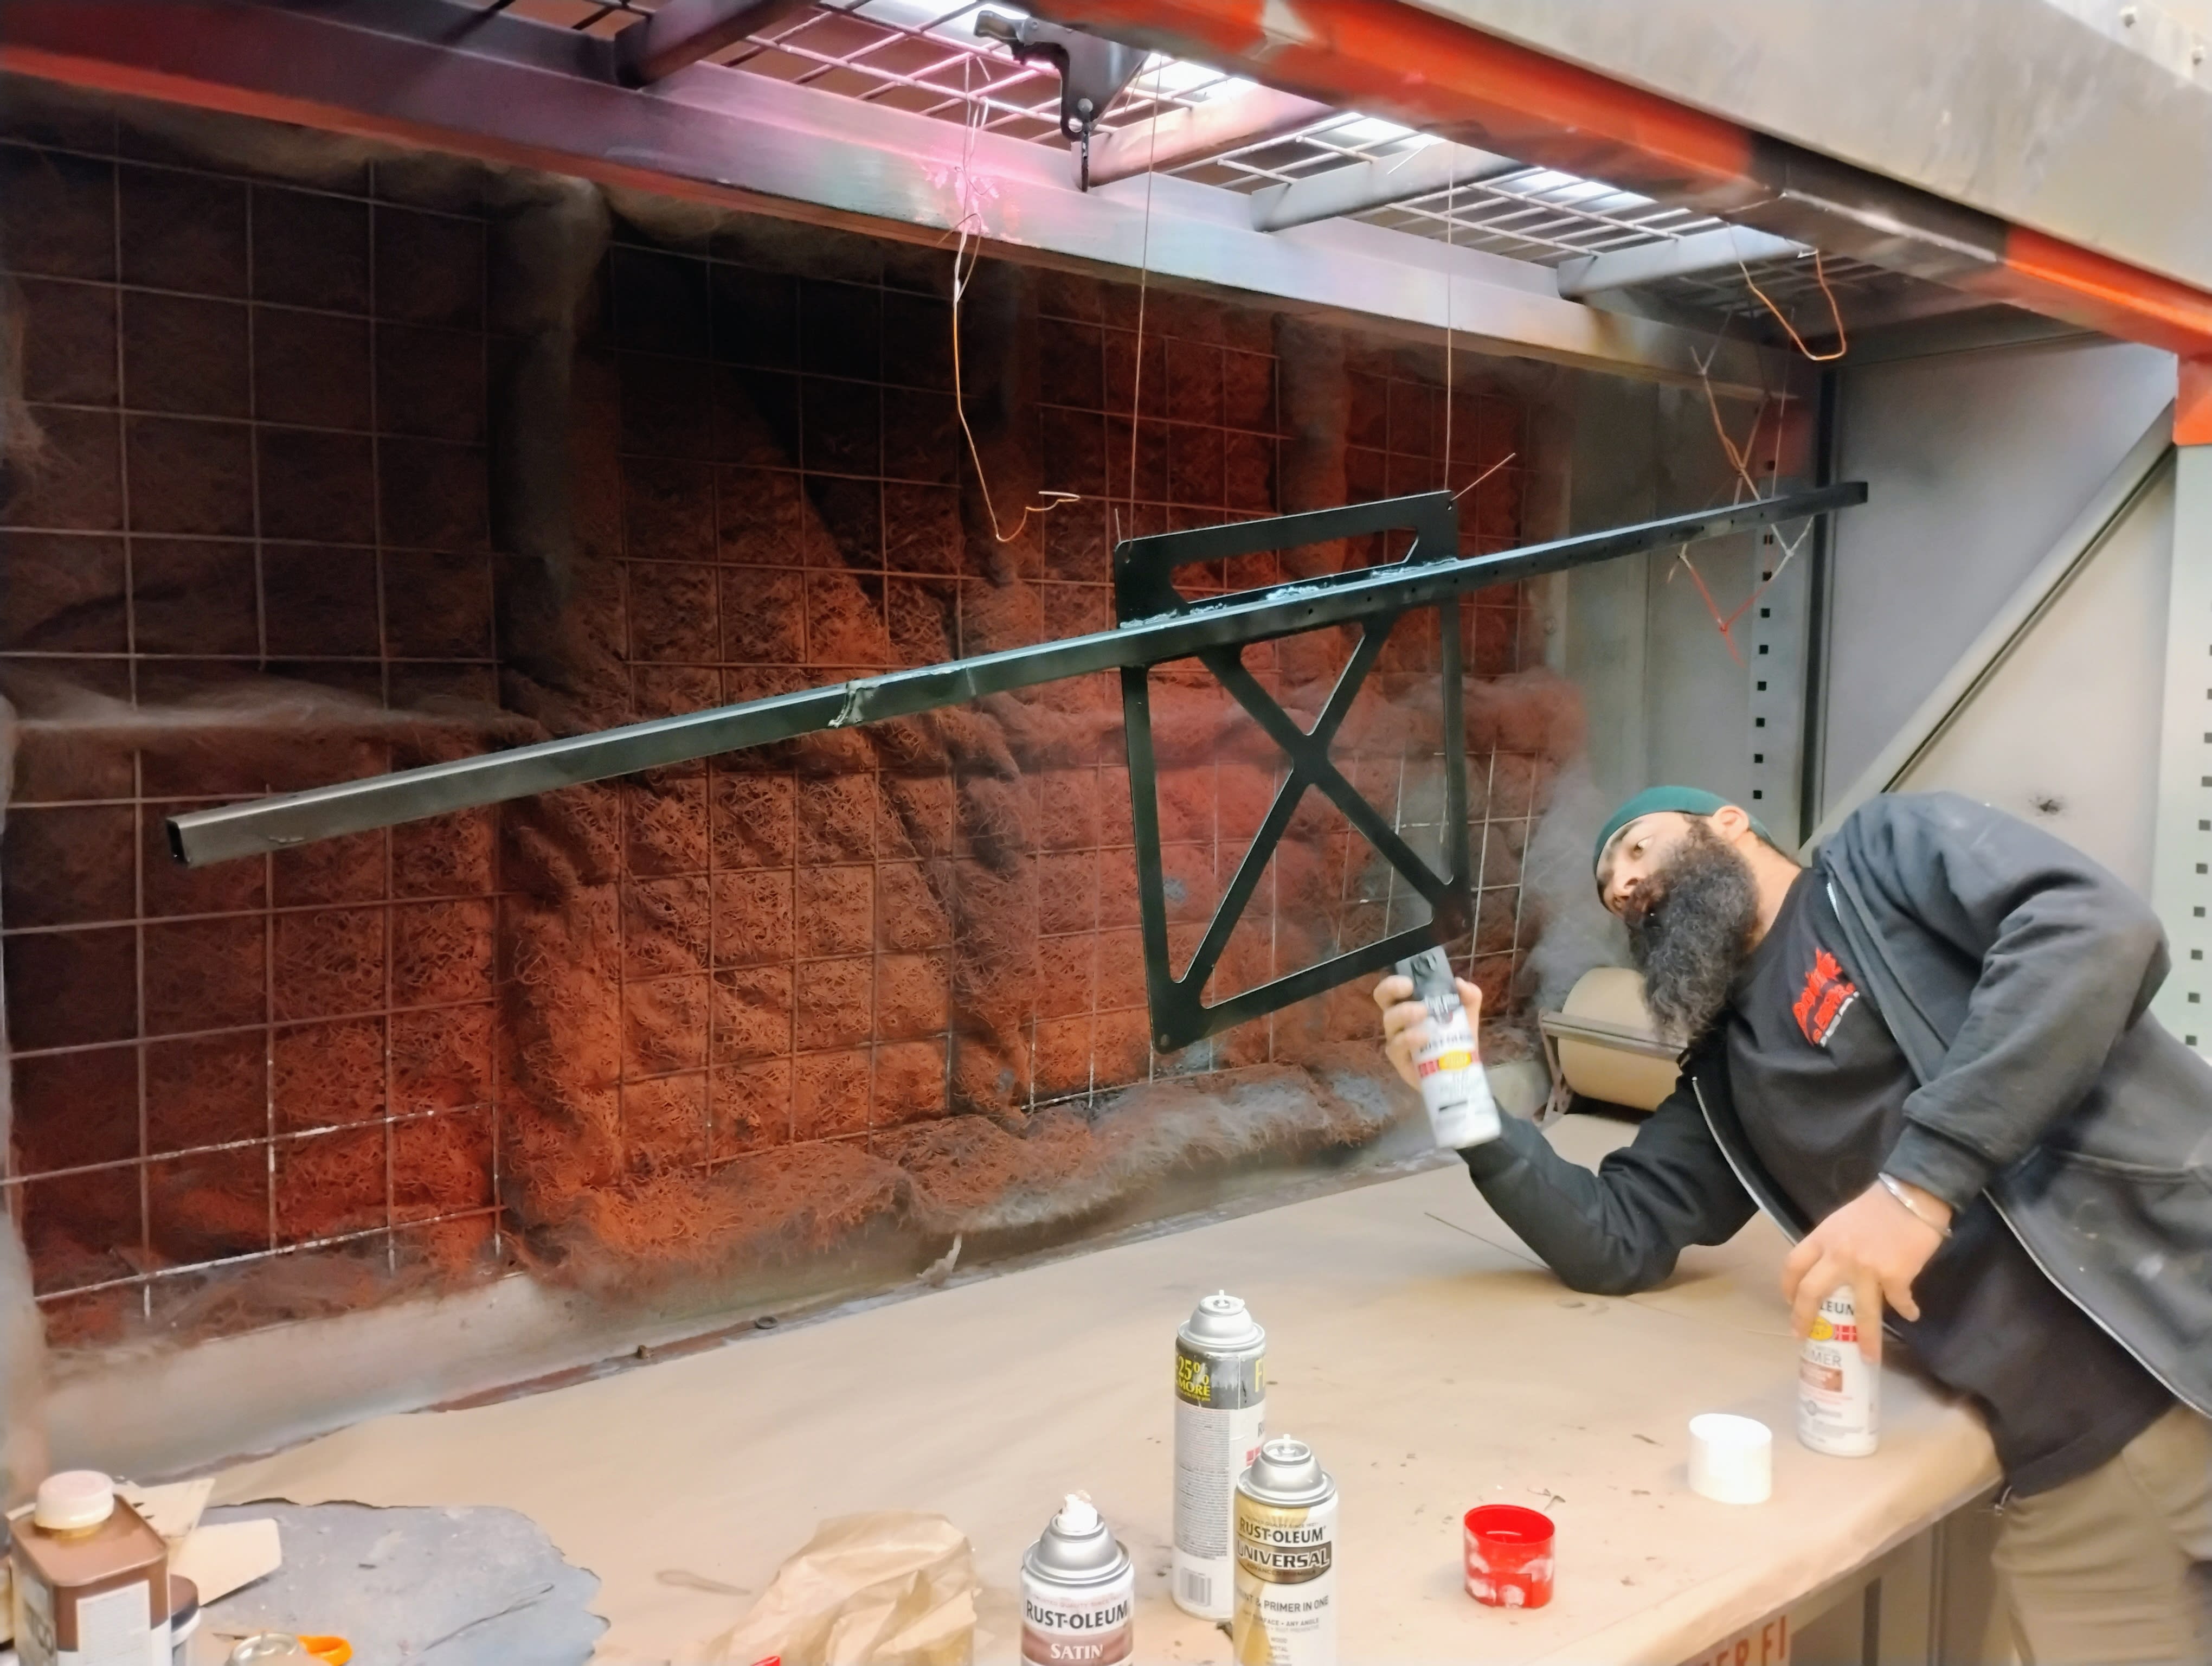
With the structural integrity of the mount saved, we ate some Beantown and decided to paint the whole thing in the Milkdrop paint booth for a bit of rust protection.
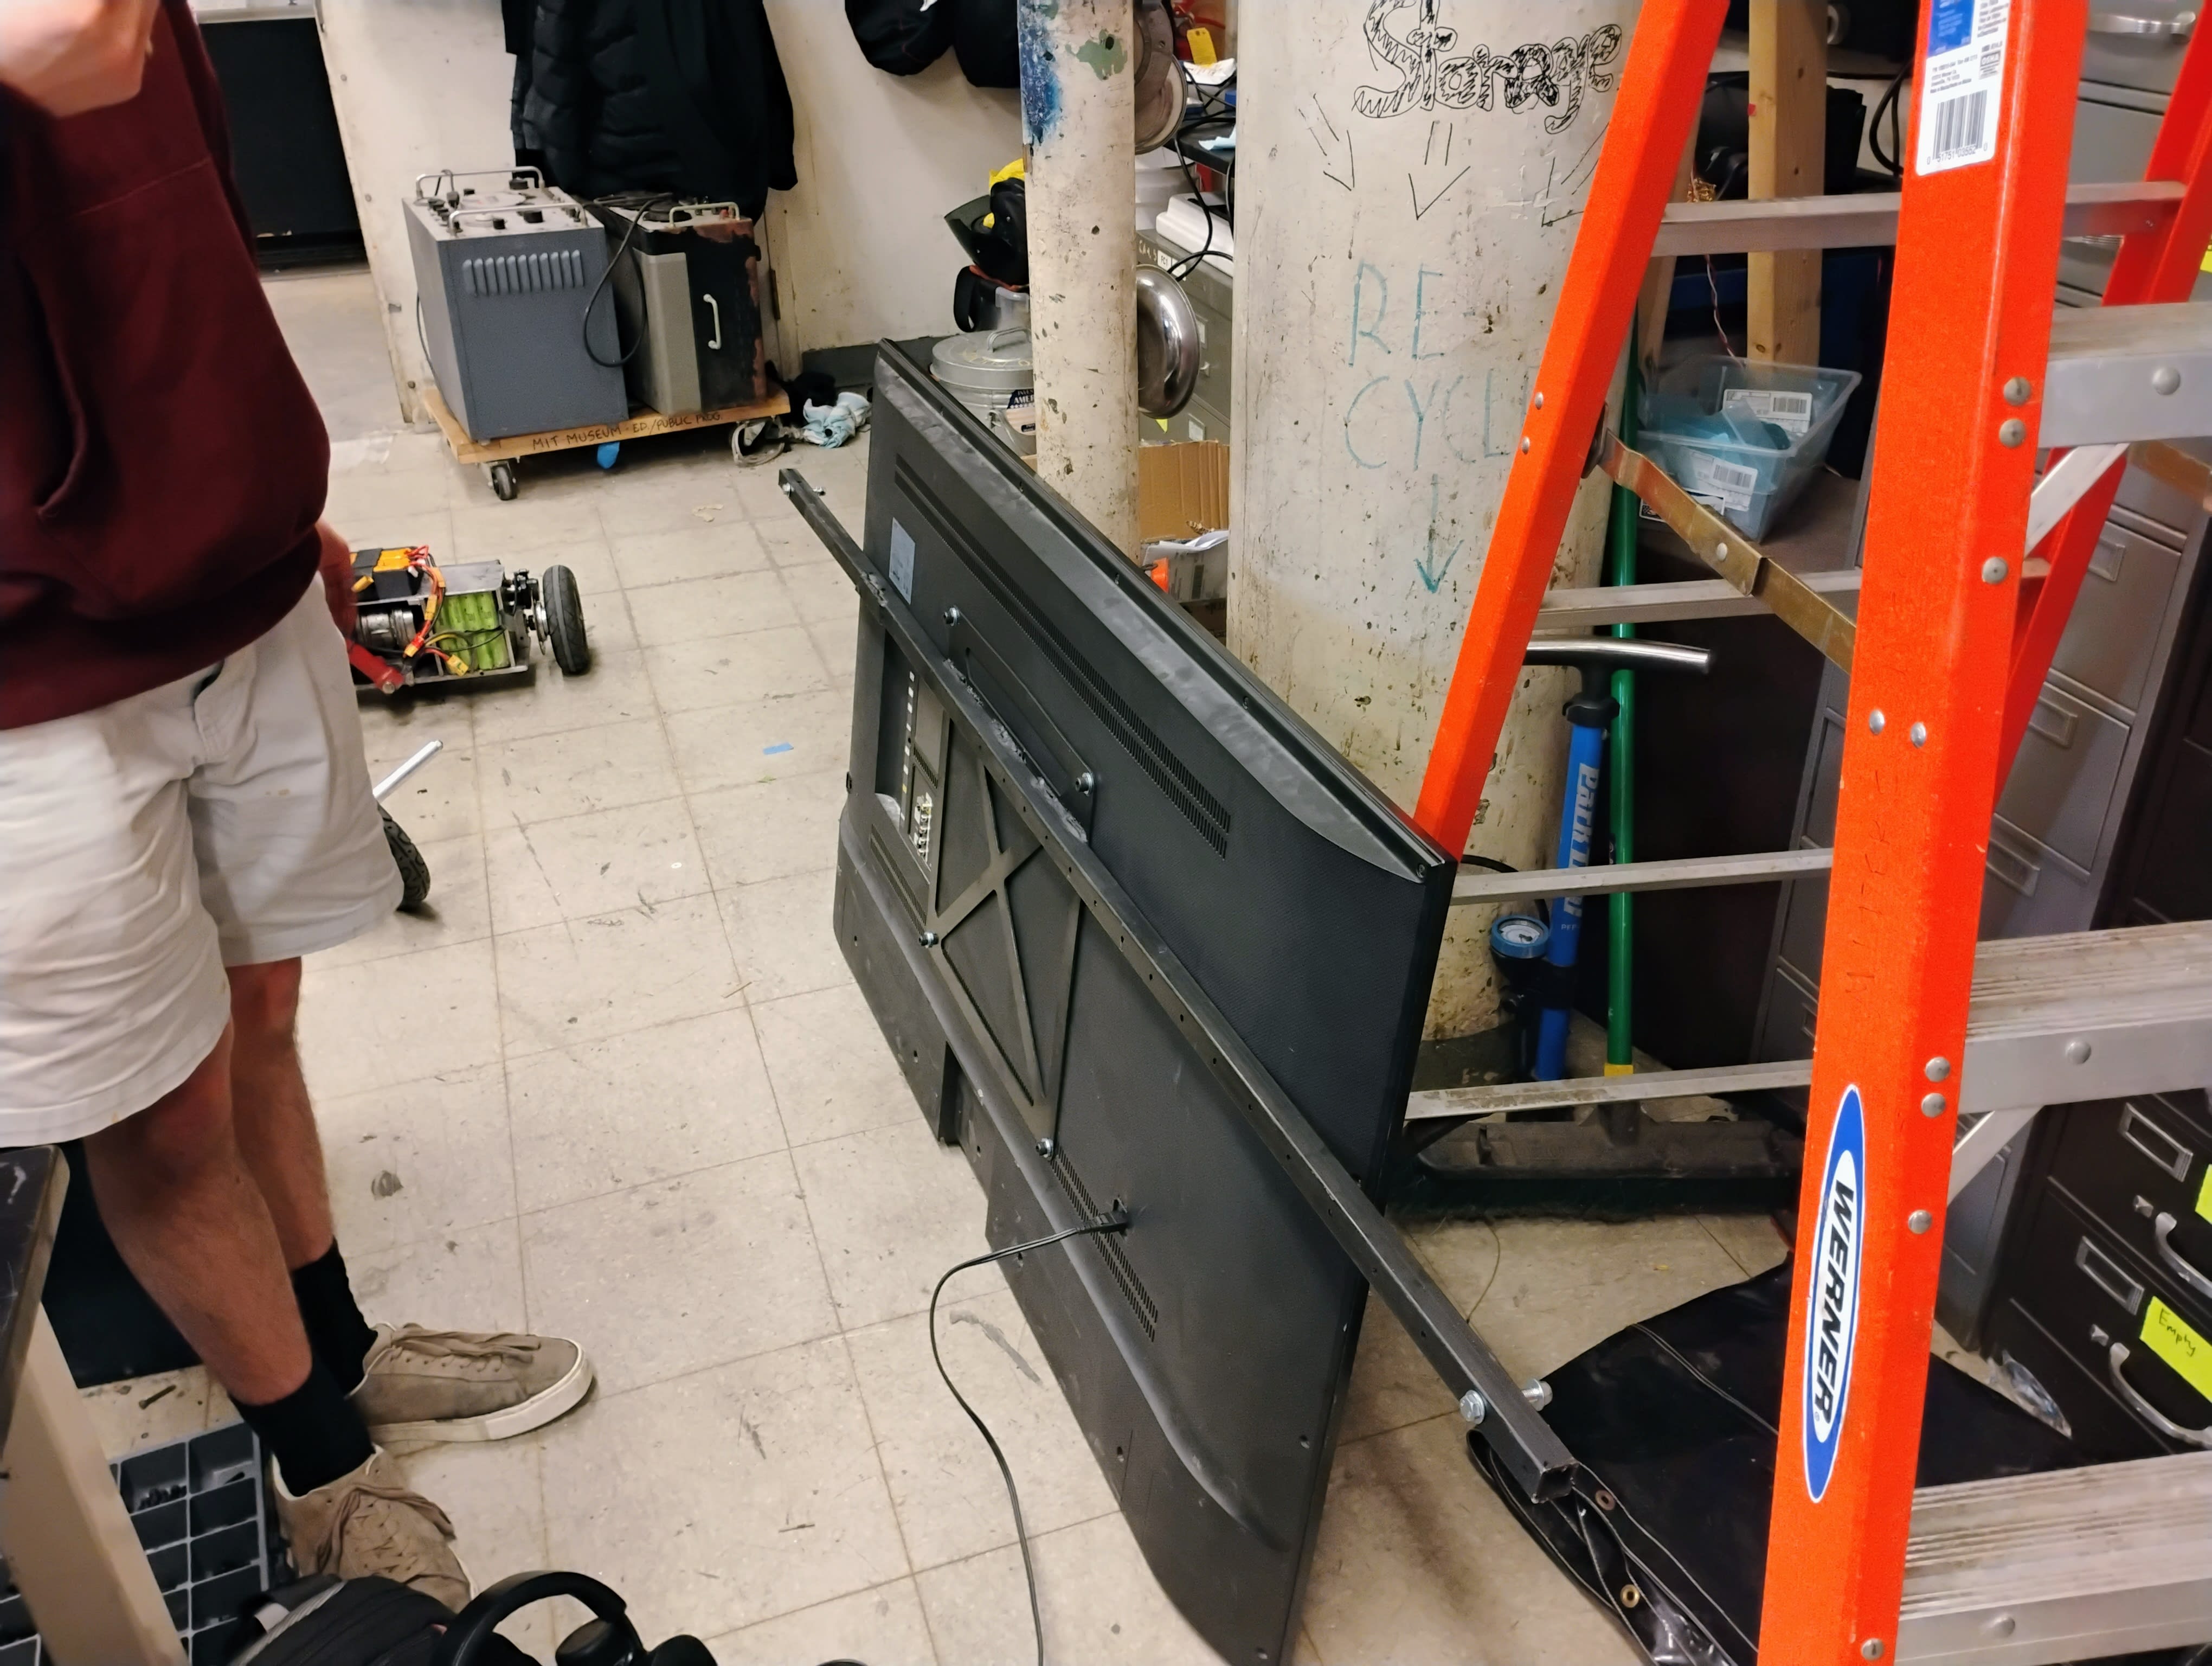
After the paint dried, we drilled a hole at each end of the tube for the bolts that would hang it on the chain. Then it was a simple matter of mounting the plate to the TV with some M6 bolts and blue Loctite5, adding M8 bolts with nylock nuts through the chains, and hanging it up!
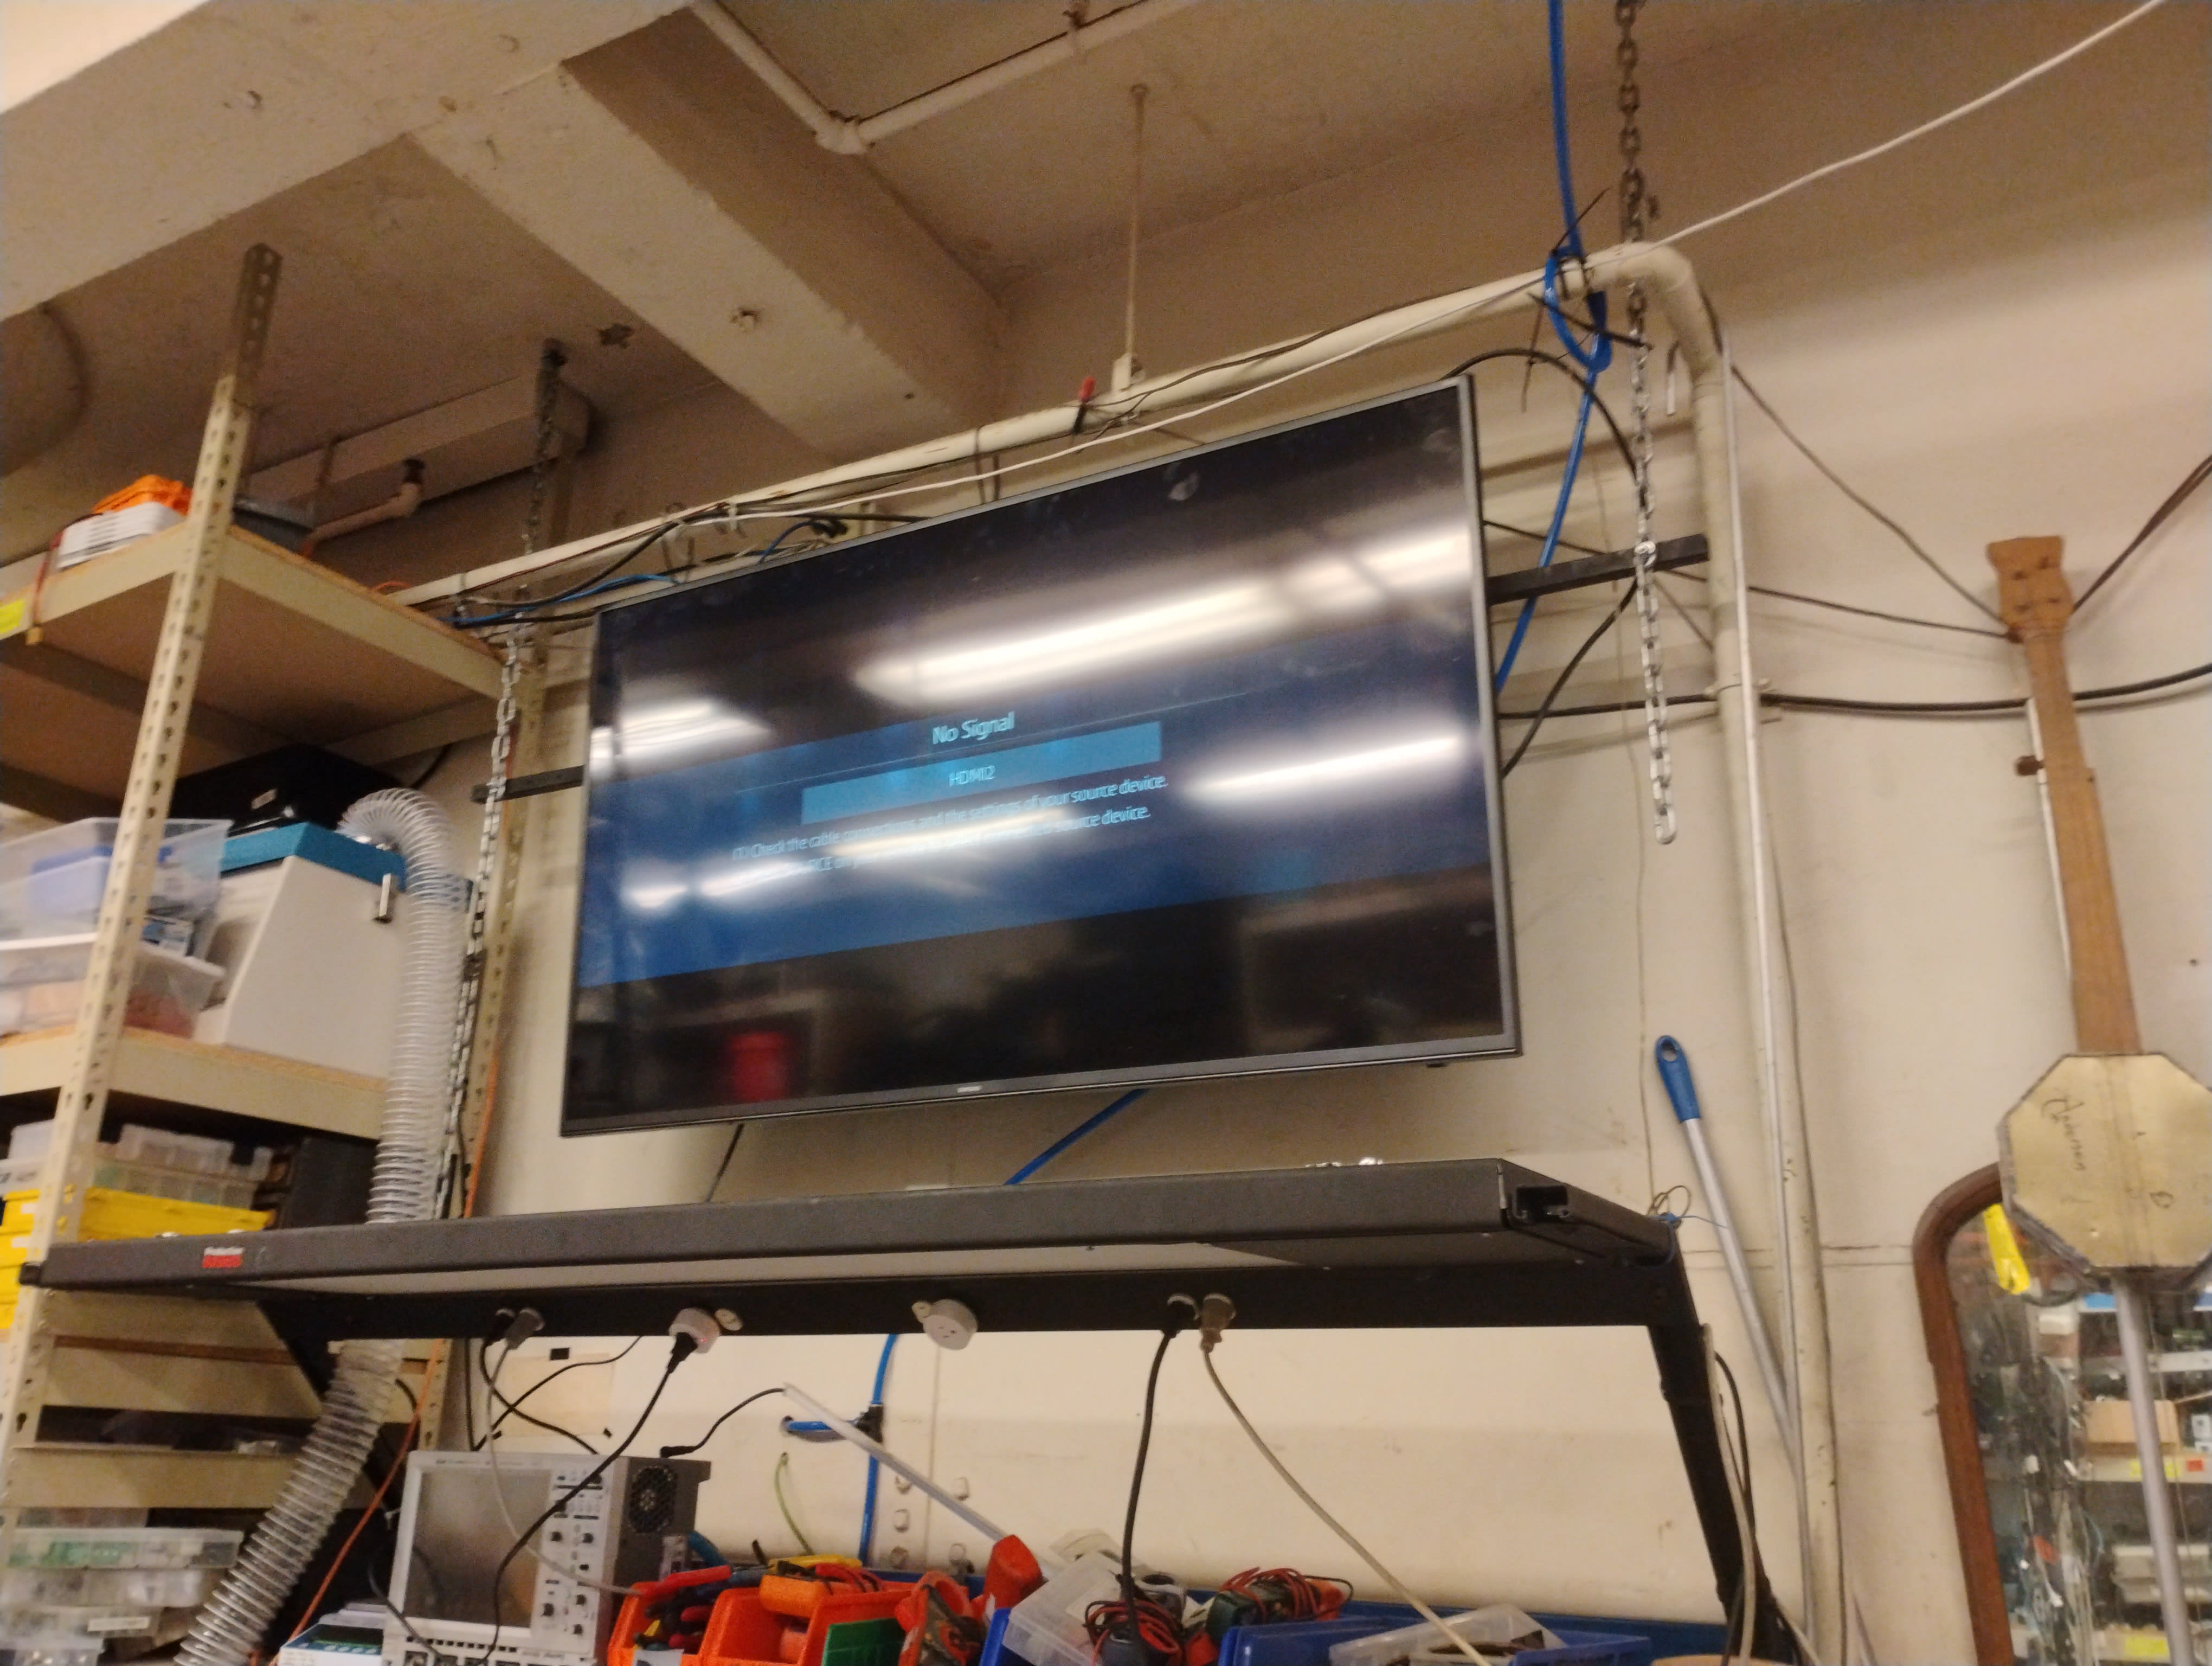
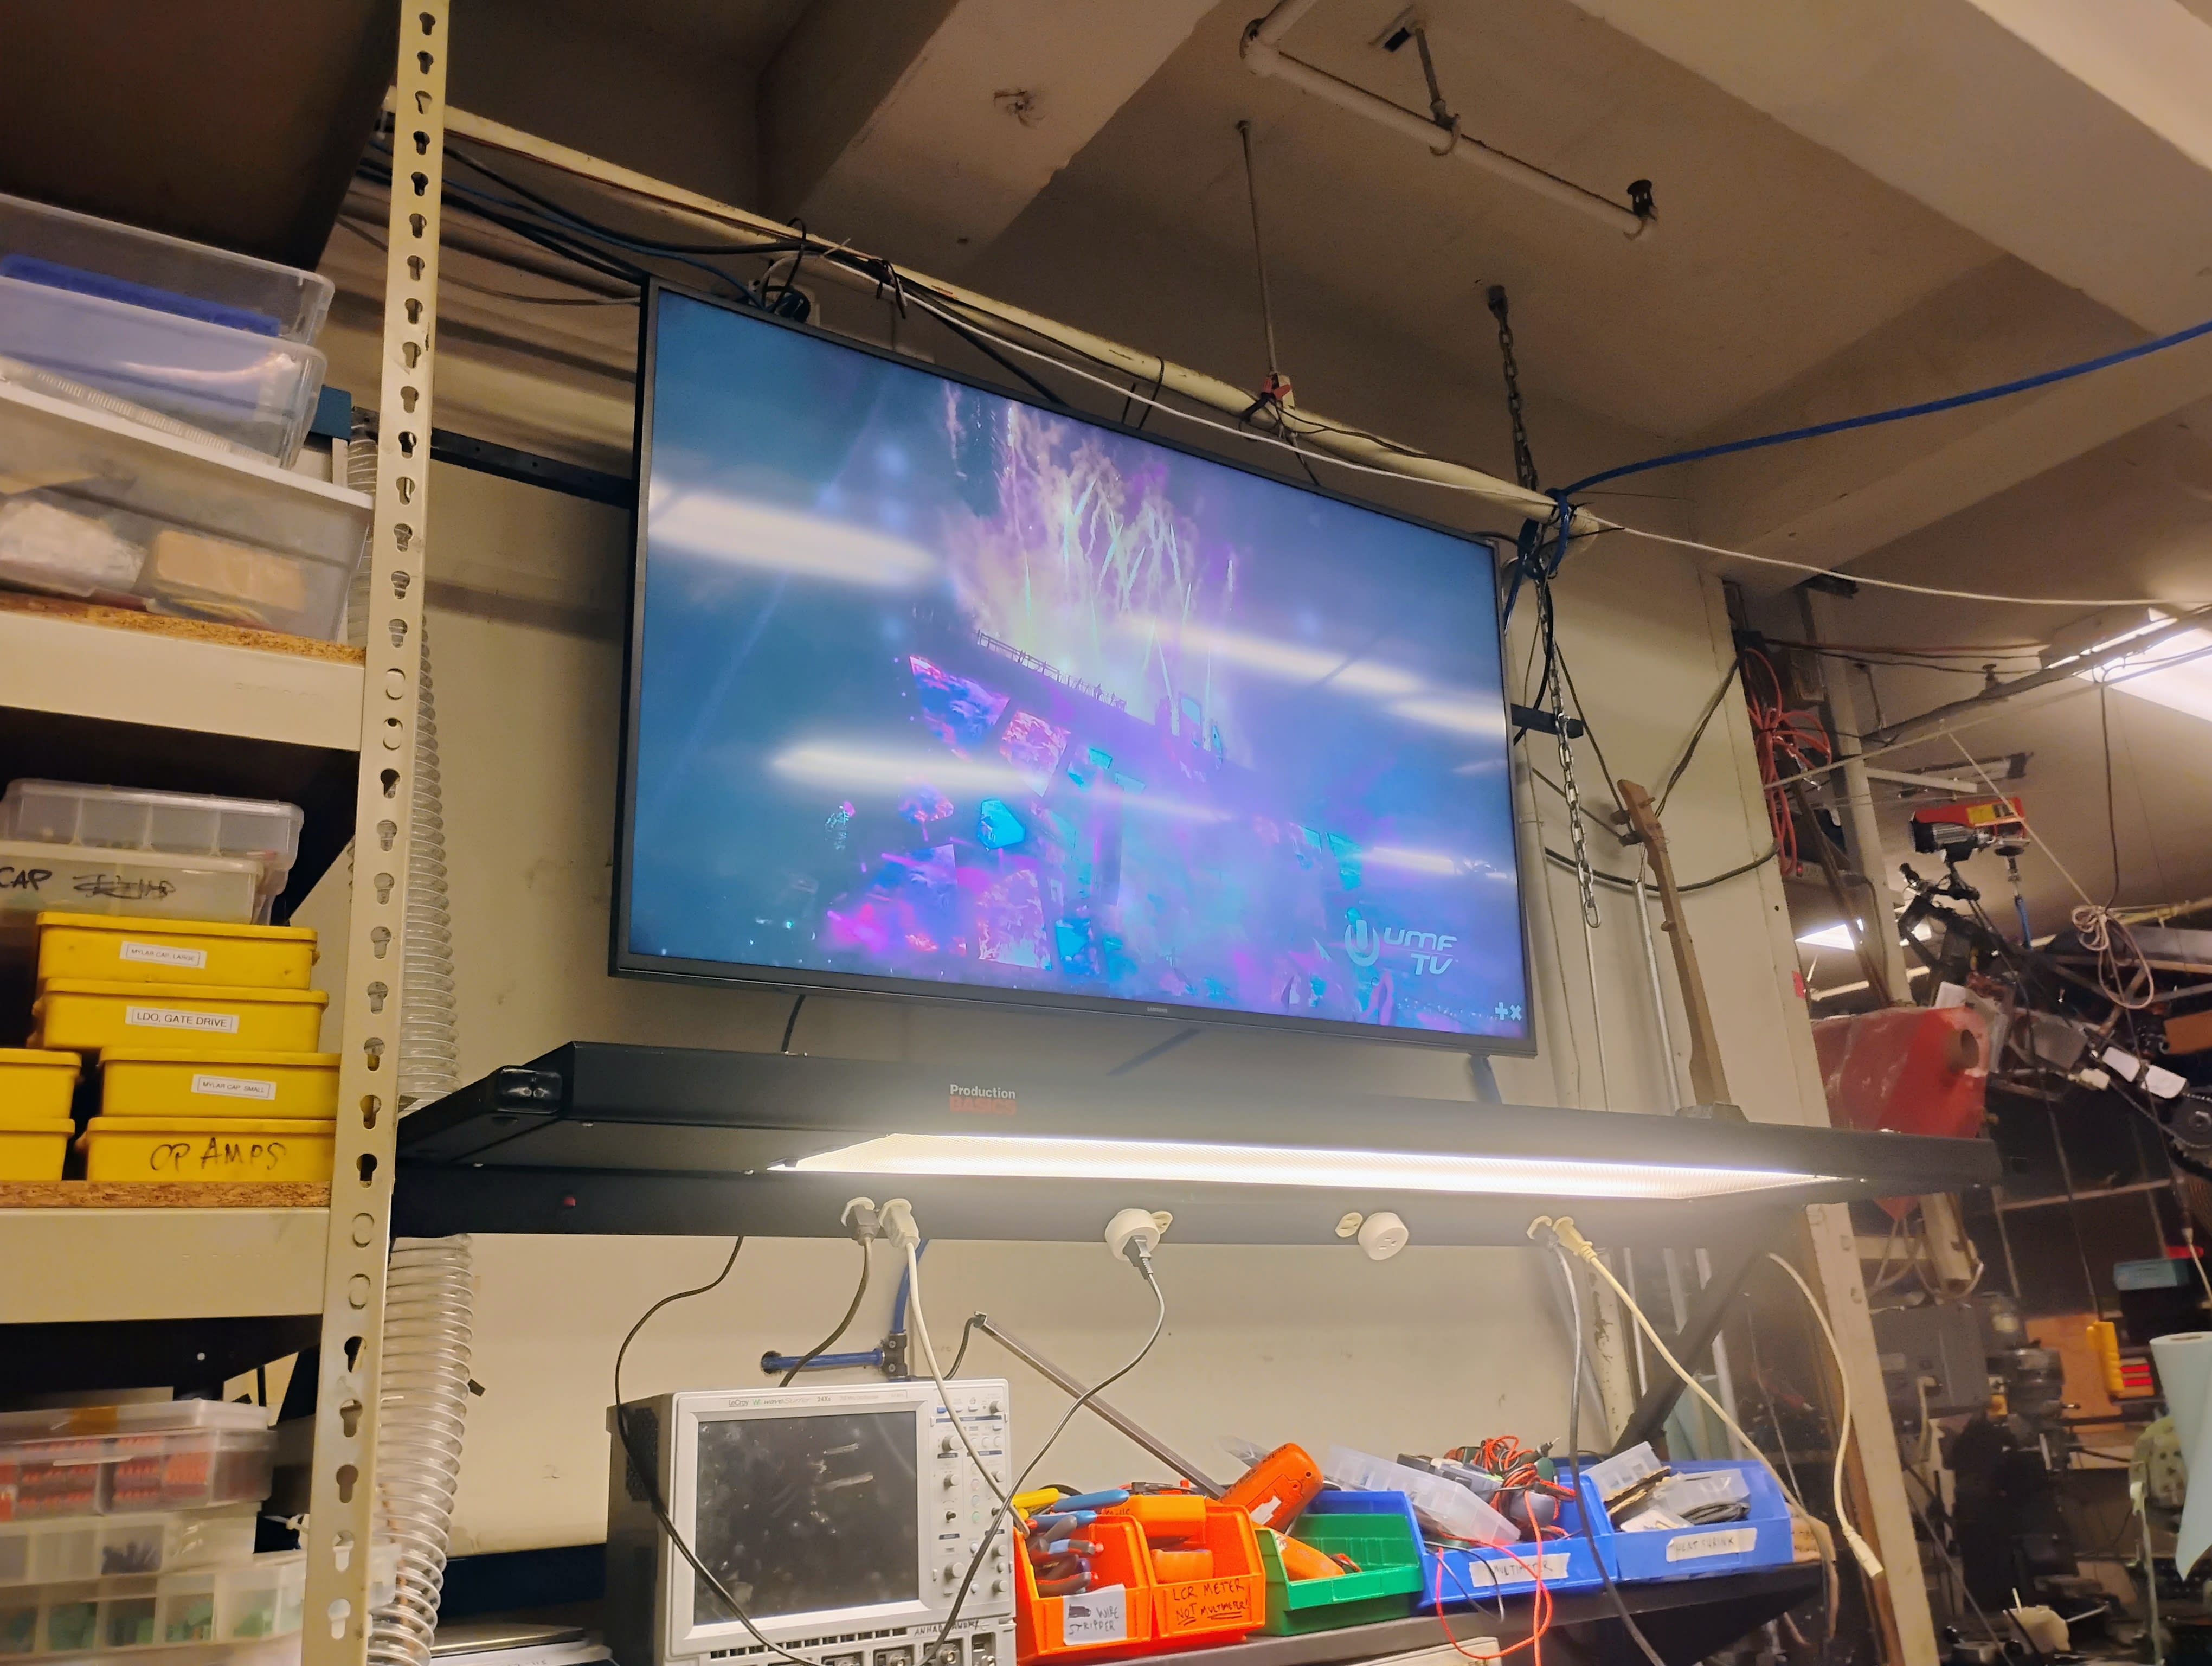
The new TV looks awesome and we watched some Alessorix, ISOxo, and John Summit to enjoy it. I don’t have any pictures of it actually playing anything, but it really does look good in person and I’ll try to add one if I remember. Or just stop by MITERS :) Also the HDMI port seems to work consistently so that’s a good upgrade all by itself.
All in all, this was a fun, quick project that we knocked out in ~4 hours and probably could have been faster if not for my welding speed. Hopefully more opportunities to practice coming sometime in the near future!
-
Not to mention the LOLrioKart’s accelerator got stuck at full throttle en route (no injuries). ↩
-
Which, notably, had an HDMI port that worked about 25% of the time. ↩
-
While I am writing this, Kath has requested a footnote for themselves and recommended using more profanity in my blog. One of these suggestions has been taken into consideration. ↩
-
I unfortunately do not have an image of this being laser cut, still learning how to do this whole “project documentation” thing. ↩
-
In case of earthquakes, duh. ↩